
How to align the paddles and replace the bearing
This guide explains how to align the paddles in your drum, and how to replace the bearing holding the paddles if needed.
Sections:
When to buy a new bearing
The bearing on your Roest should last for many years without maintenance. However, sometimes it may be necessary to replace the bearing, or to adjust the alignment of the paddles.
If you need a new bearing, contact our support team for advice, and to order the parts you need.
If your bearing is functional but your paddles have become misaligned, then you can also follow this guide to realign the paddles. To do this you will need to adjust the position of the bearing, but you do not need to replace it. Misaligned paddles can cause squeaking sounds where the paddles scrape against the drum wall.
Before you start
⚠️DISCLAIMER
Information in this document is believed to be accurate and reliable. However, the manufacturer does not give any representations or warranties, expressed or implied, as to the accuracy or completeness of such information and shall have no liability for the consequences of the use of such information. The manufacturer is not liable or responsible for any problems arising from the attempted repair. The manufacturer reserves the right to make changes to information published in this document, including without limitation specifications and product descriptions, at any time and without notice. The manufacturer's products are not designed, authorized, or warranted to be suitable for use in applications where failure or malfunction can reasonably be expected to result in personal injury, death, or severe property or environmental damage. The manufacturer accepts no liability for inclusion and/or use of its products in such equipment or applications and therefore such inclusion and/or use is for the customer’s own risk.
⚠️SAFETY INSTRUCTIONS
make sure the roaster is turned off
the power cord has to be unplugged
follow the steps as instructed below
Tools
2mm, 2.5mm, 3mm, 4mm, and 5mm hex keys
T20 Torx screwdriver (for machines with wood side panels)
Wire cutters.
Philips screwdriver
6mm and 10mm spanner

Unplug the ribbon cable from the back of the first crack card.

Pull the card off the rubber holders.

Remove the three rubber mounting points with a 6mm spanner
Remove the hoses
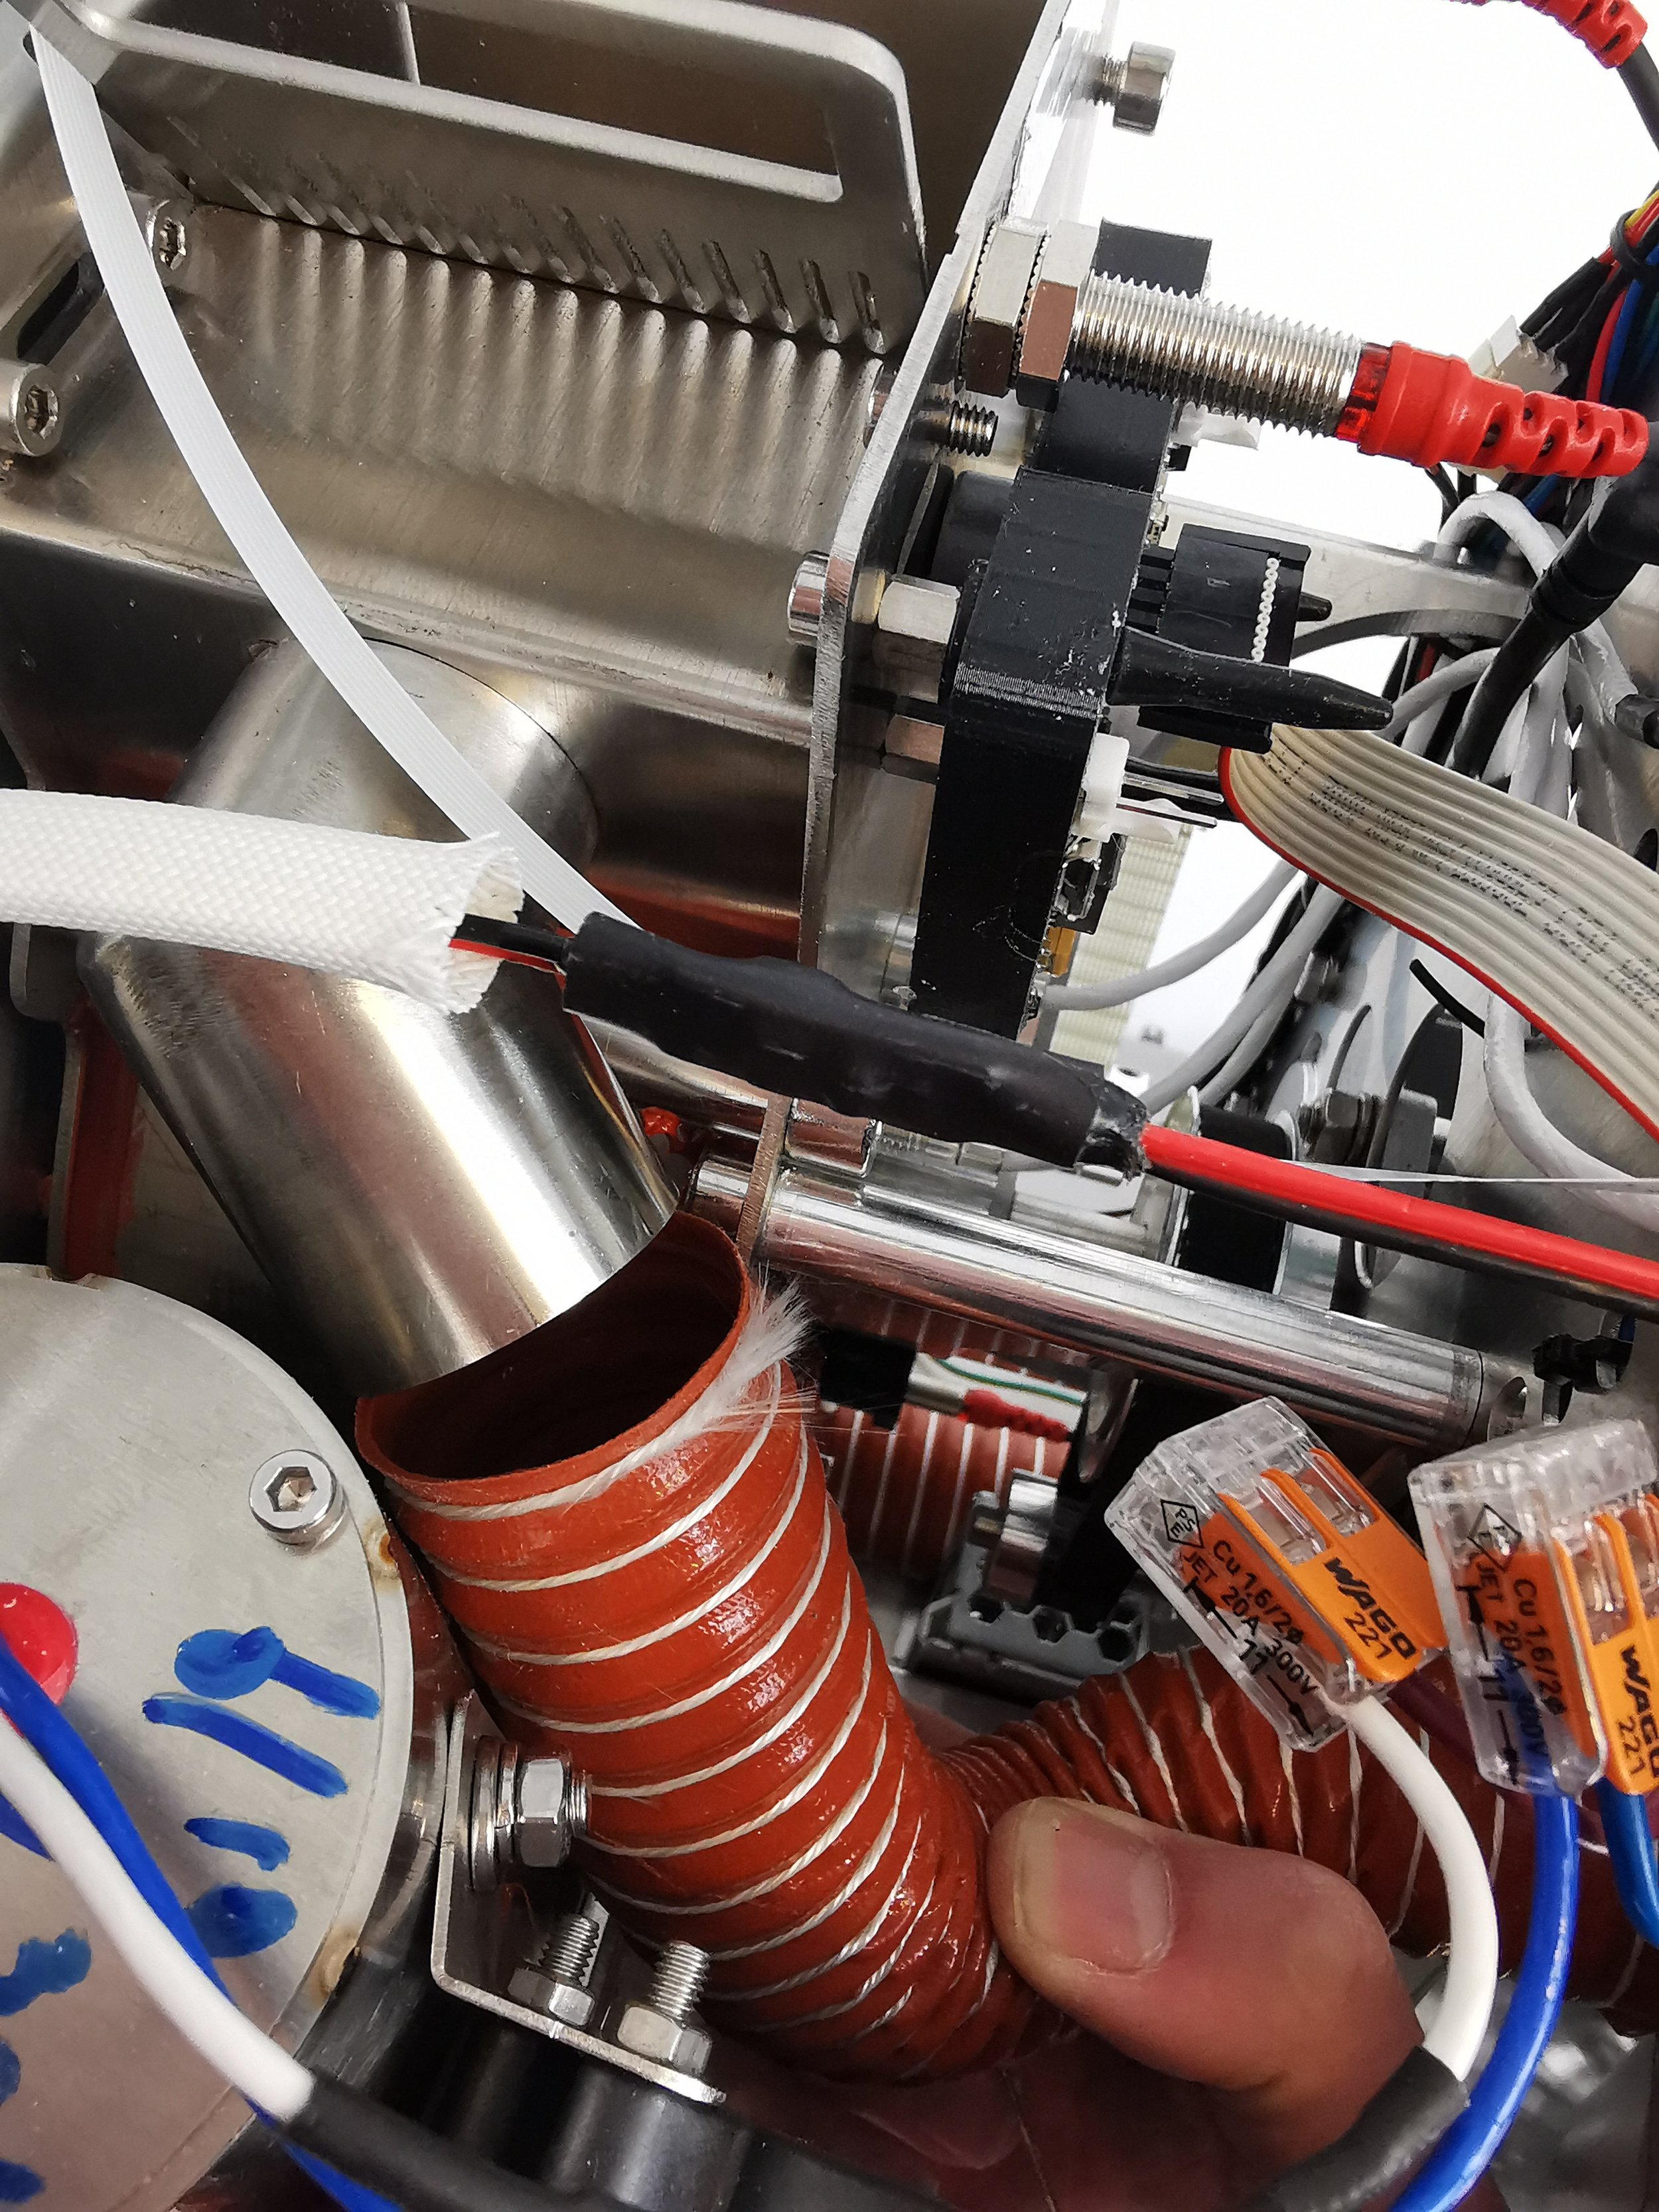
Remove both silicone hoses from inside the machine: one connecting the bean cooler to the cooling fan, and one connecting the drum exhaust to the chaff separator

Take the opportunity to clean out the hoses with a vacuum cleaner and a long-handled brush, or use compressed air.
Remove the charge handle and the bean stopper.

Lift out the charge handle and set aside
Remove the 5 bolts holding the bean stopper in place with a 3mm hex key:

Four on the top

And one at the bottom.

Lift the bean stopper up to a 45 degree angle

Then pull it towards you to remove it
Take this opportunity to deep clean the bean stopper if needed. For stubborn build-up you can soak the part in hot water and espresso machine detergent or a food-grade degreaser.
With the bean stopper removed, you can also access the inside of the drum. If there is a lot of build up here, you can take this opportunity to scrub the drum walls with a stiff brush.
Remove the chaff separator
Follow this guide as far as Step 9.
Remove the back plate

Unplug the chassis fan and wifi antenna from the PCB (The connectors are marked 5 in yellow and 8 in red)

Cut the cable tie holding the chassis fan cable to the bracket

Remove the screw at the bottom of the fan mesh
Then slide the plate out to the right and set aside
Remove the proximity sensor plate
Reach into the drum and hold the paddles to prevent the axle from turning. You can also do this by carefully jamming the paddles with a screwdriver or hex key.

Loosen the bolt on the axle with a 4mm hex key, then remove the bolt and the proximity sensor plate.
Loosen the bearing

Loosen the grub screws holding the bearing to the axle using a 2mm hex key

Loosen the bolts holding the bearing to the bracket using a 5mm hex key. You can hold the nuts on the opposite side of the bracket in place using a 10mm spanner.
Remove the bearing
Skip this step if you are only aligning the paddles, not replacing the bearing.
If you are replacing the bearing, remove the old bearing completely and replace with the new one. Loosen the grub screws on the new bearing if necessary to fit it onto the axle.
Press the bearing flat against the bracket and loosely fasten in place with the two bolts. On the opposite side of the bracket, each bolt is held in place with a washer and a nut.
Align the paddles
First check the angle of the axle. Position the paddles so that you can see how the edge of the paddle aligns with the drum wall.

The edge of the paddle should be parallel to the drum wall
Push the bearing up or down in the bracket until the edge of the paddle is parallel to the drum wall.
Once the paddle is aligned, hold the bearing in place and gradually tighten the bolts, holding the bearing to the bracket to keep the correct alignment.

Alternate between the bolts, tightening a little at a time, until both bolts are tight.
After tightening, turn the paddles and double-check their alignment is still correct relative to the drum wall.
Next, check the horizontal position of the axle. With one finger, push the axle towards the front of the machine as far as it will go. Then insert a hex key into the trier hole, and push the axle slightly back.

Push the axle horizontally from either side to align it.

Look inside the drum and position the paddles so that the gap between the paddle and the drum wall is the same on each side.
Once the paddles are in position, re-tighten the grub screws holding the axle to the bearing.
Turn the paddles one more time to check the alignment in both directions, and adjust as necessary.
Remount the proximity sensor plate.
Hold the paddles in place as before to re-fasten the bolt. There should be a washer between the bolt and the plate.

After remounting the plate, double check that the proximity sensor is still in the correct position. It should be no more than 1mm away from the plate, but the plate must be able to spin freely without touching the sensor.
Check that the drive belt is straight.
If you have moved the axle, the drive pulleys may no longer be parallel. If needed, loosen the grub screws on the large pulley, and slide it into position so that the drive belt is straight.
Check that the axle now spins freely.
You should be able to easily turn the axle with just one finger on the proximity sensor plate.
Remount the chaff separator
Follow the second section of this guide
Attach rear panel
Slide the rear panel back into place from the right-hand side. As you slide it into place, make sure the chassis fan housing overlaps the bottom part of the back plate.

Ensure there are no cables caught between the back plate and the frame of the machine, and then fasten the plate with one screw at the bottom of the fan mesh, and the four screws securing it to the chaff separator.
Remount the bean stopper.
Push the bean stopper back into position at a 45 degree angle, and then straighten it up until it lines up with the screw holes in the chassis.
Fasten the four bolts at the top, and one at the bottom. On newer machines, one of the bolts is tapered, to make it easier to insert in the bottom hole.
Check that the bean stopper doesn’t prevent the charge handle from dropping down freely in its slot: if it does, you may need to push the bean stopper slightly back into position before tightening the bolts.
Re-attach cables and hoses
Plug the cables for the chaff separator, chassis fan, and WiFi antenna back into the PCB. The chassis fan cable should pass under the PCB and then double-back on itself where it will be attached to the PCB bracket.

Replace the cable ties: One holding the chaff separator fan cables in place, and one holding the chassis fan and heater fan cables to the bracket.
Remount the silicone hoses. Ensure that they slide fully into position, then tighten the clip holding the hose to the bottom of the bean cooler fan.
Remount the first crack card
Follow this guide
Final steps
At this point, it’s a good idea to turn the machine on and double check that the RPM proximity sensor is working correctly. The light on the sensor should turn on and off as the axle turns. If it does not, check the position of the sensor and replace if necessary.
If the RPM sensor is working, then put the side panels and top plate back on.
Before roasting any coffee, it’s a good idea to test that everything is working correctly. Start roasting a batch without any beans. Manually set the power to 80%, and let the roast run for 10 minutes. If the paddles now spin correctly, congratulations! If you are still having problems, please contact the support team for help.