
Cabling
A guide to how the cables within the machine are tied and how you should tie them up if having to undo them when changing a component or doing repairs.
Why do we use cable ties?
We use cable ties on our cables for safety reasons and to keep them neat inside the machine. If you have to change a component, the probability of having to cut some cable ties and redo them is significant. Trying to navigate the cables within the machine can be overwhelming, especially where they go and what they do. This guide aims to help you in case of having to navigate our cables and cable tie system.
Left-hand side - Motor bracket
The three pictures below show how most cables are tied to the motor bracket.

Top view, what you see when removing the top plate.

The left side of the motor bracket is seen when the left-hand side panel is removed.

The right side of the motor bracket is seen when the left-hand side panel is removed.
Left side of the motor bracket:
We have the power cables to the heating element on the left side of the motor bracket. It is crucial that these are tied alone on this side and do not touch any other cables. Below the motor bracket, it is hard to separate them entirely from other cables, but one should try as much as possible.
Right side of the motor bracket:
On the right side, we have the rest of the cables going from the PCB to one of the components at the bottom of the roaster (SSR, power pack, buzzer, etc.). On this side there are a few things to notice:
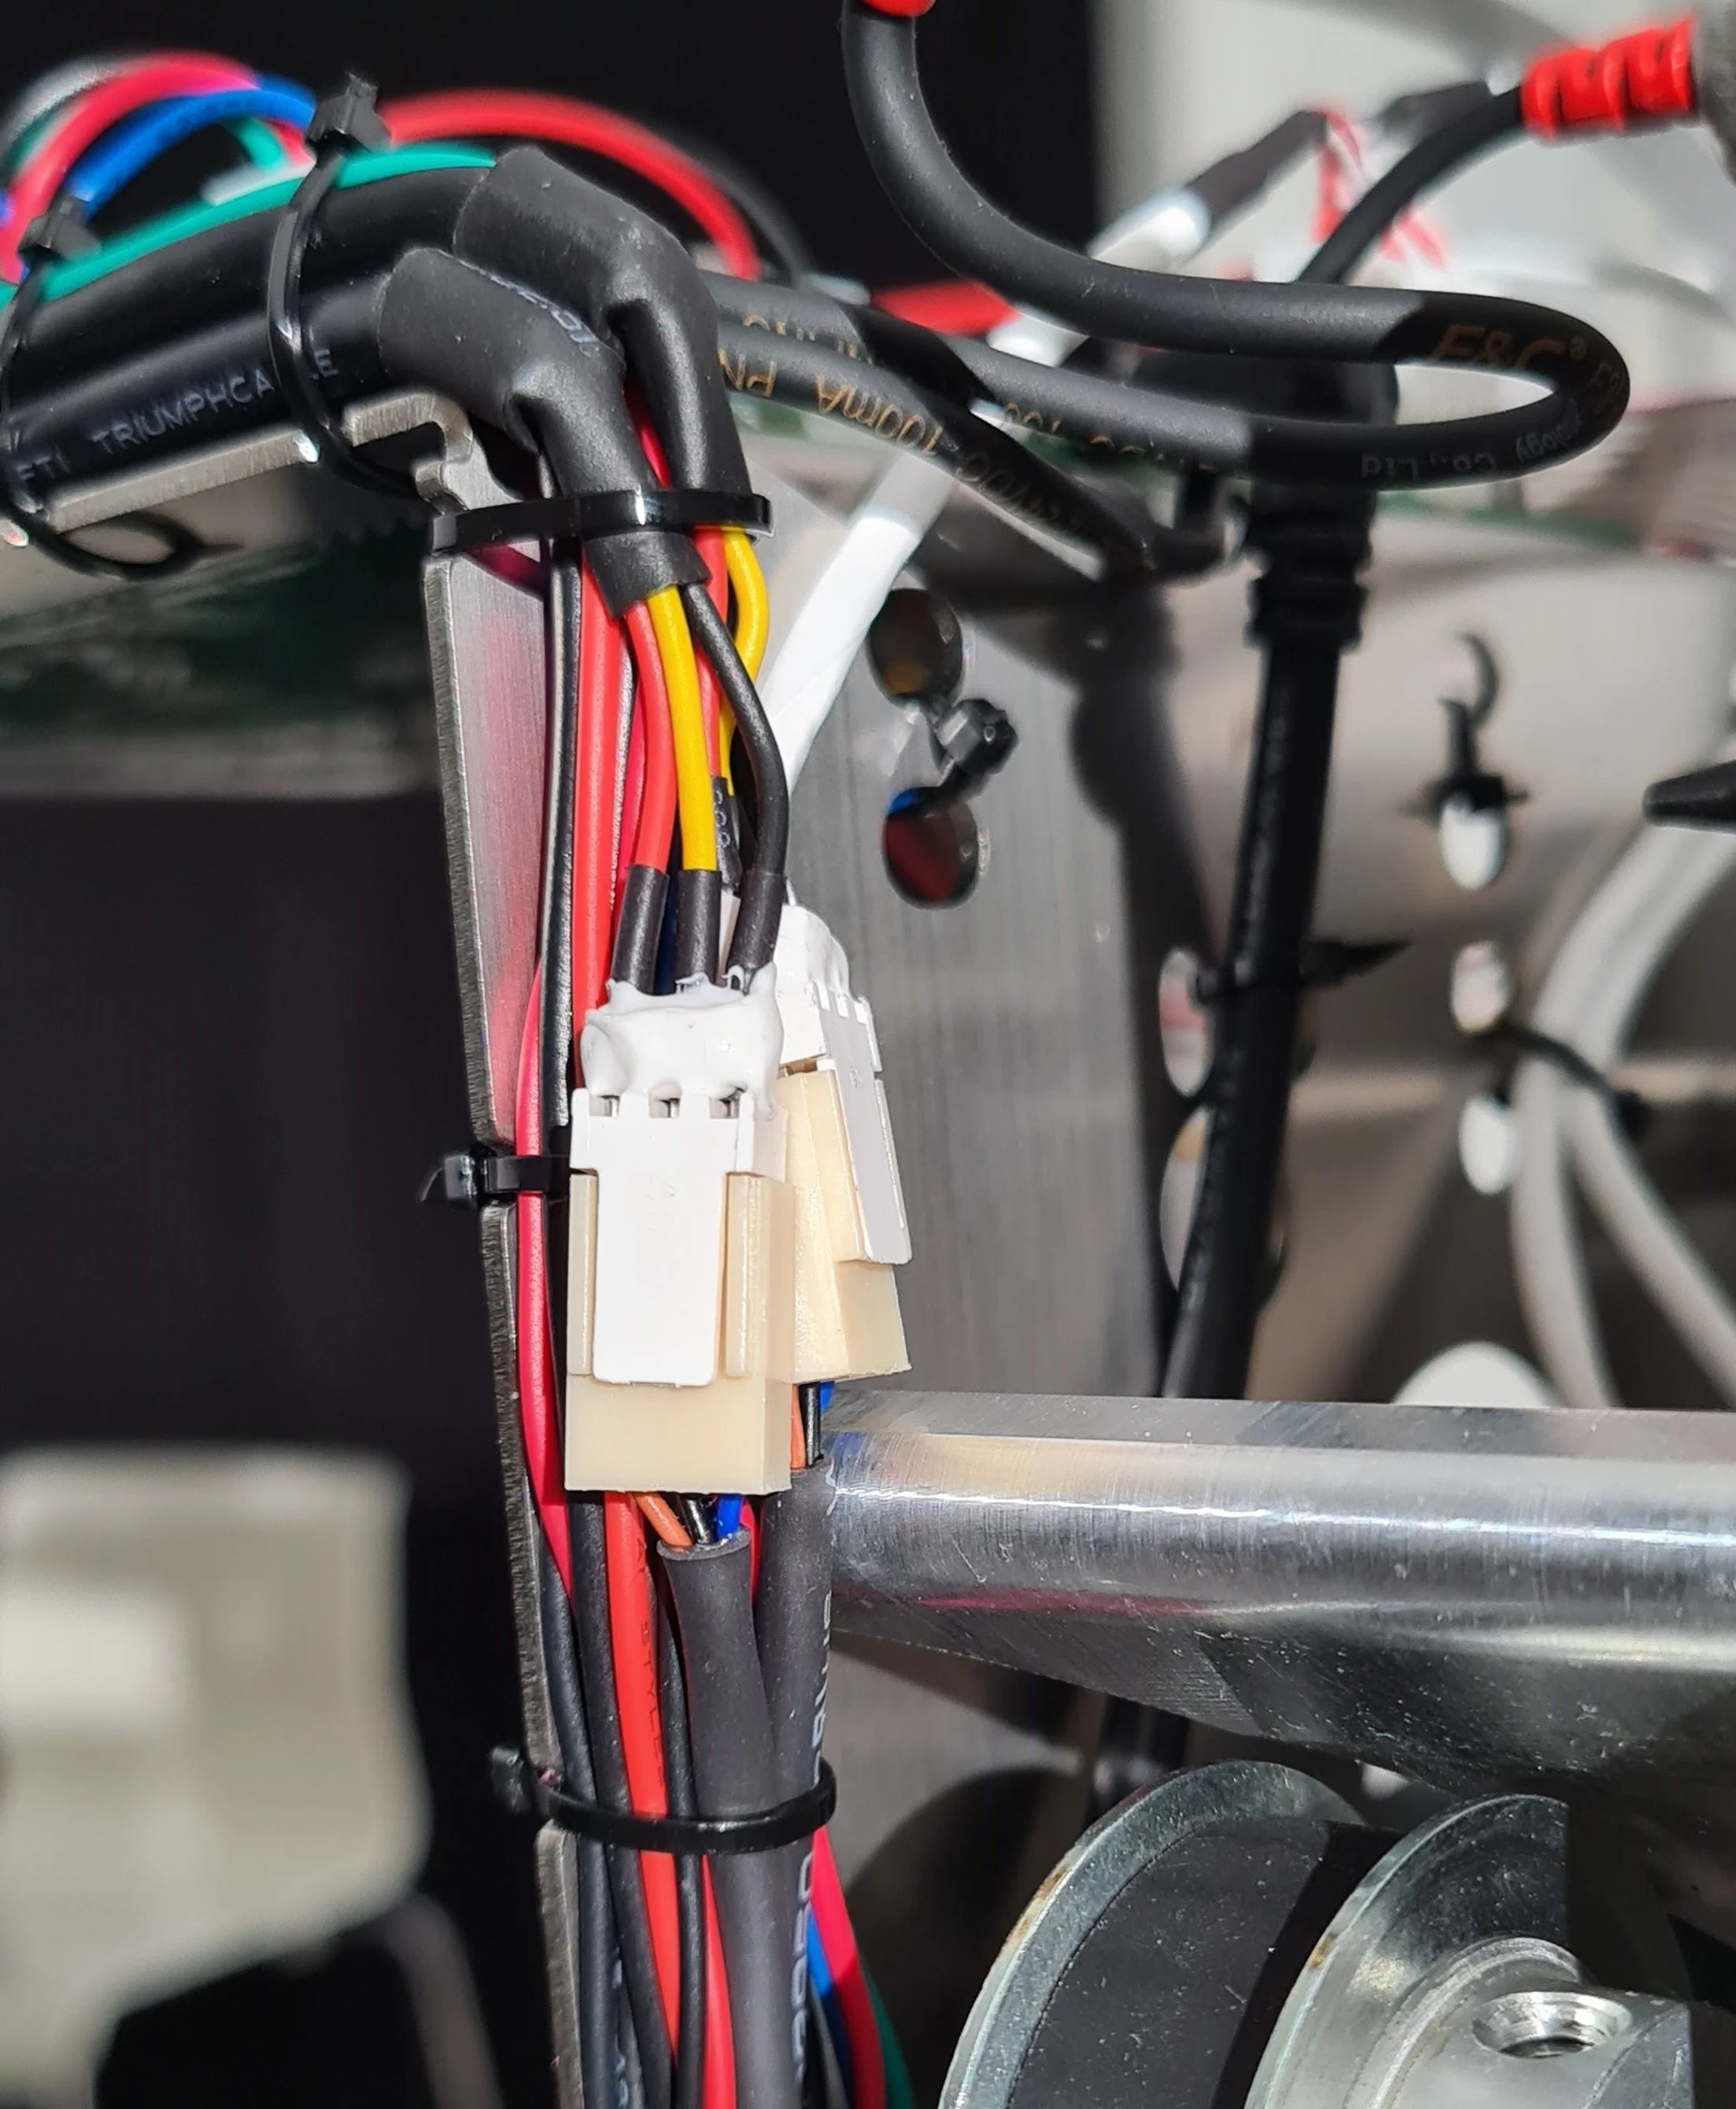
These are the extension cables to the RPM and Cooling tray proximity sensors. It is very crucial that the white connectors or the cables close to them are not crushed by cable ties. They should rather be kept loose from the cable ties in this area, like it’s been done in the photo.

The ET and Exhaust temperature sensors should be tied like in the photo above. Make sure not to let the cables touch the pulley.

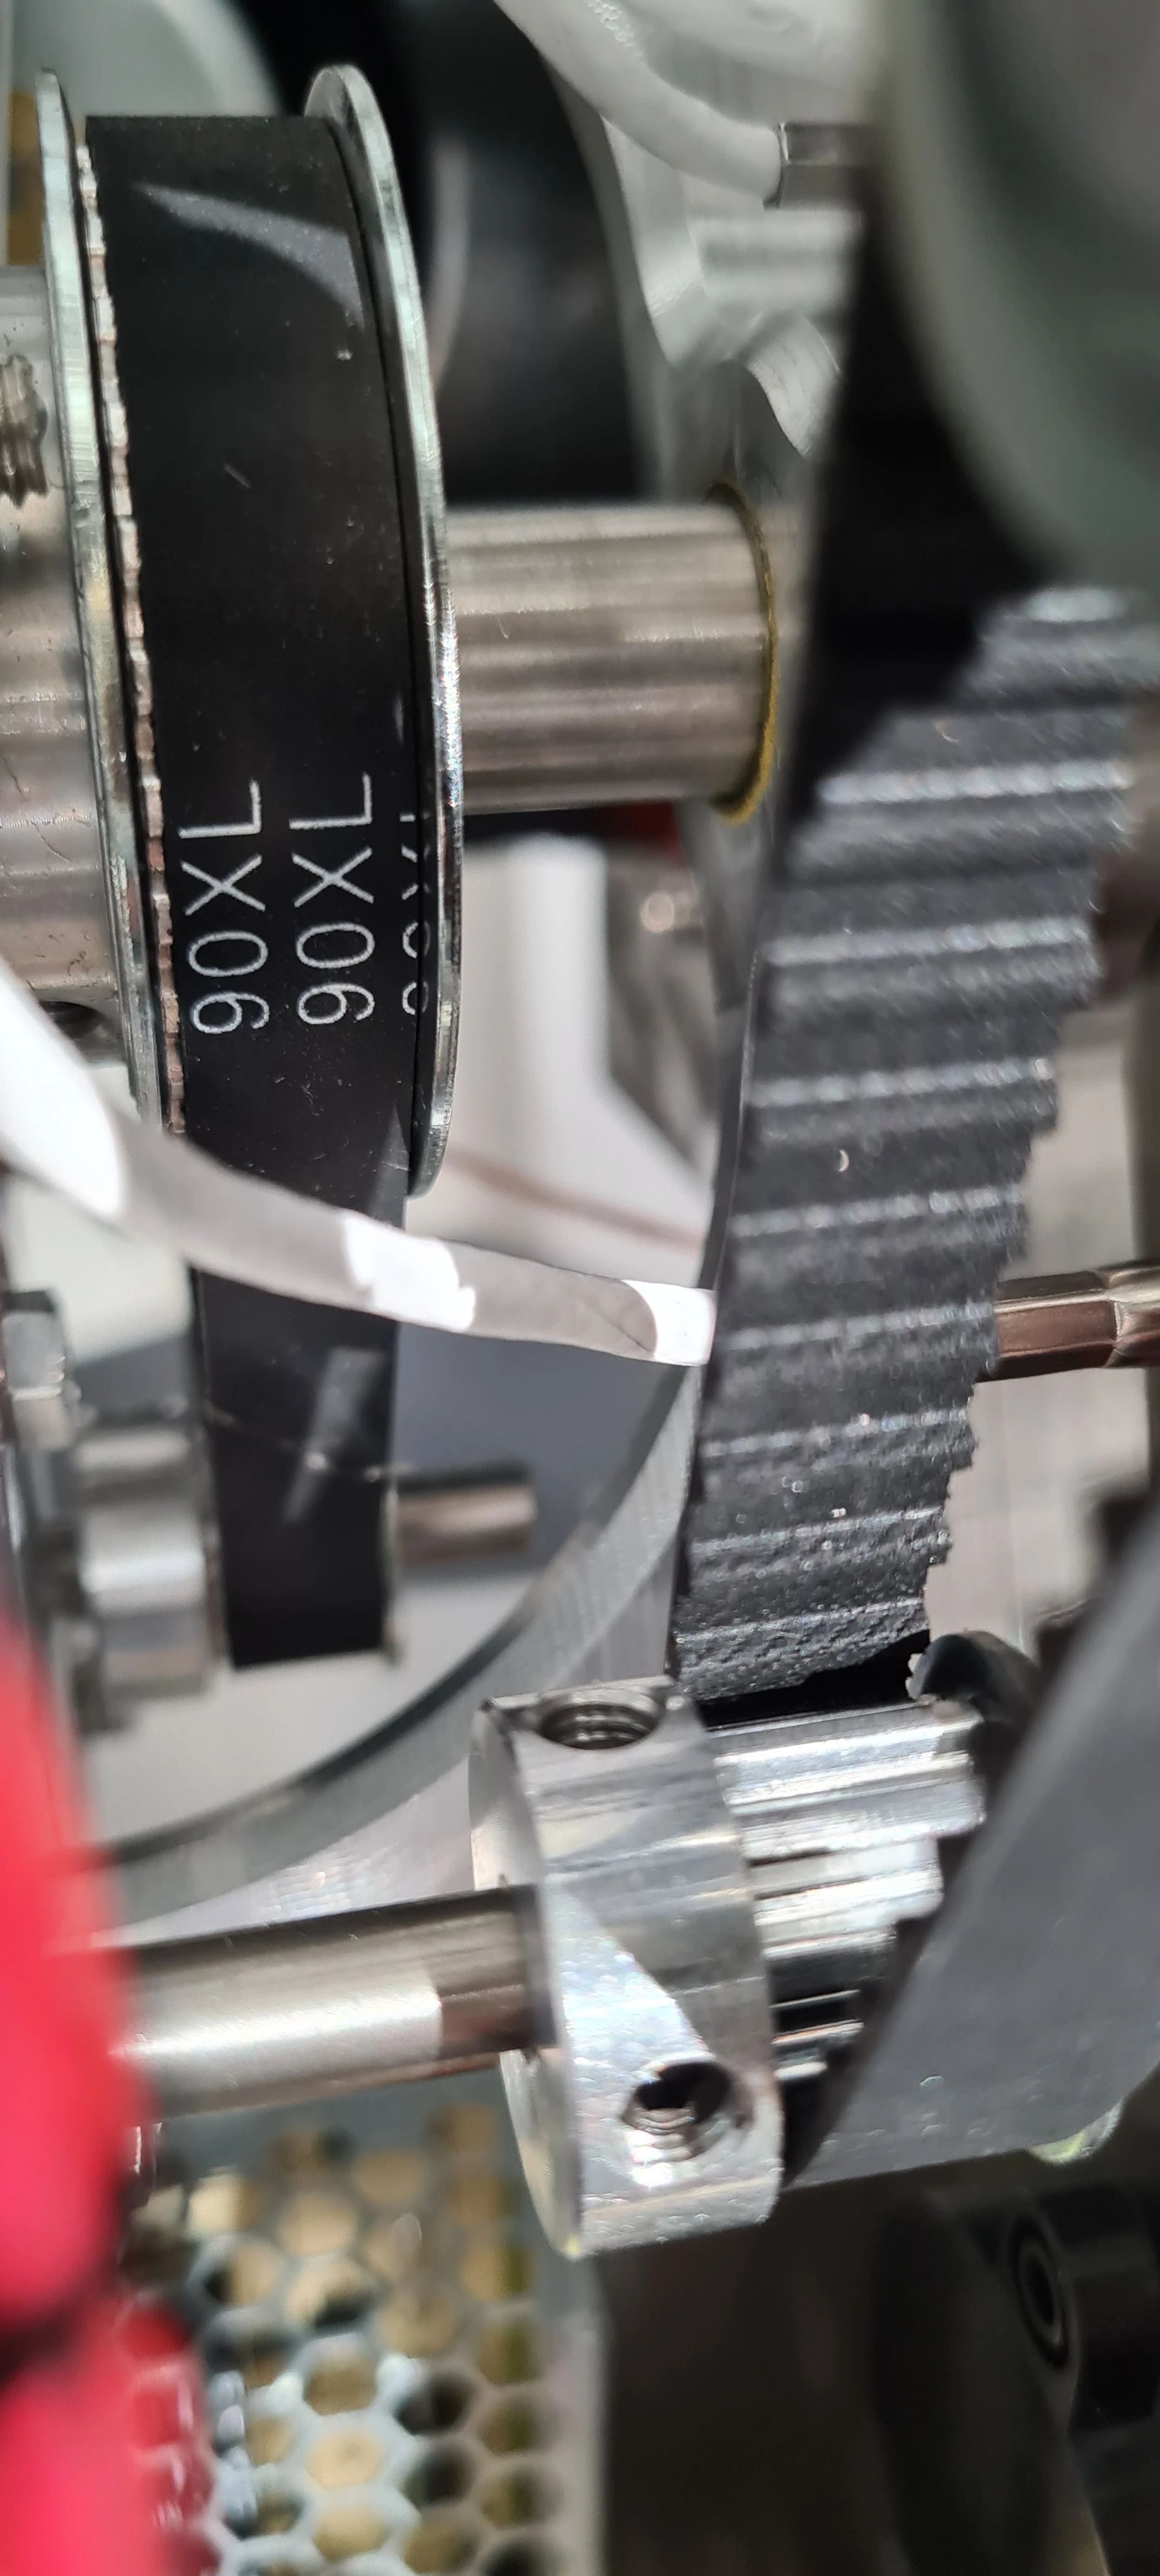

The BT temperature sensor is positioned between the two pulleys, and you should ensure not to let the BT temperature cable touch them. The third photo shows how the BT cable must be positioned around the Y-piece to get it out of the way from the pulleys.
Right-hand side

The heater fan, chassis fan, drum temperature sensor, and LED window cables are tied to the motor bracket on the right-hand side if you look from the top.
Chassis fan

Cables should be kept out of the chassis fan in the back.

Cables can get stuck in the chassis fan; there will be a loud sound from this area if that is the case.