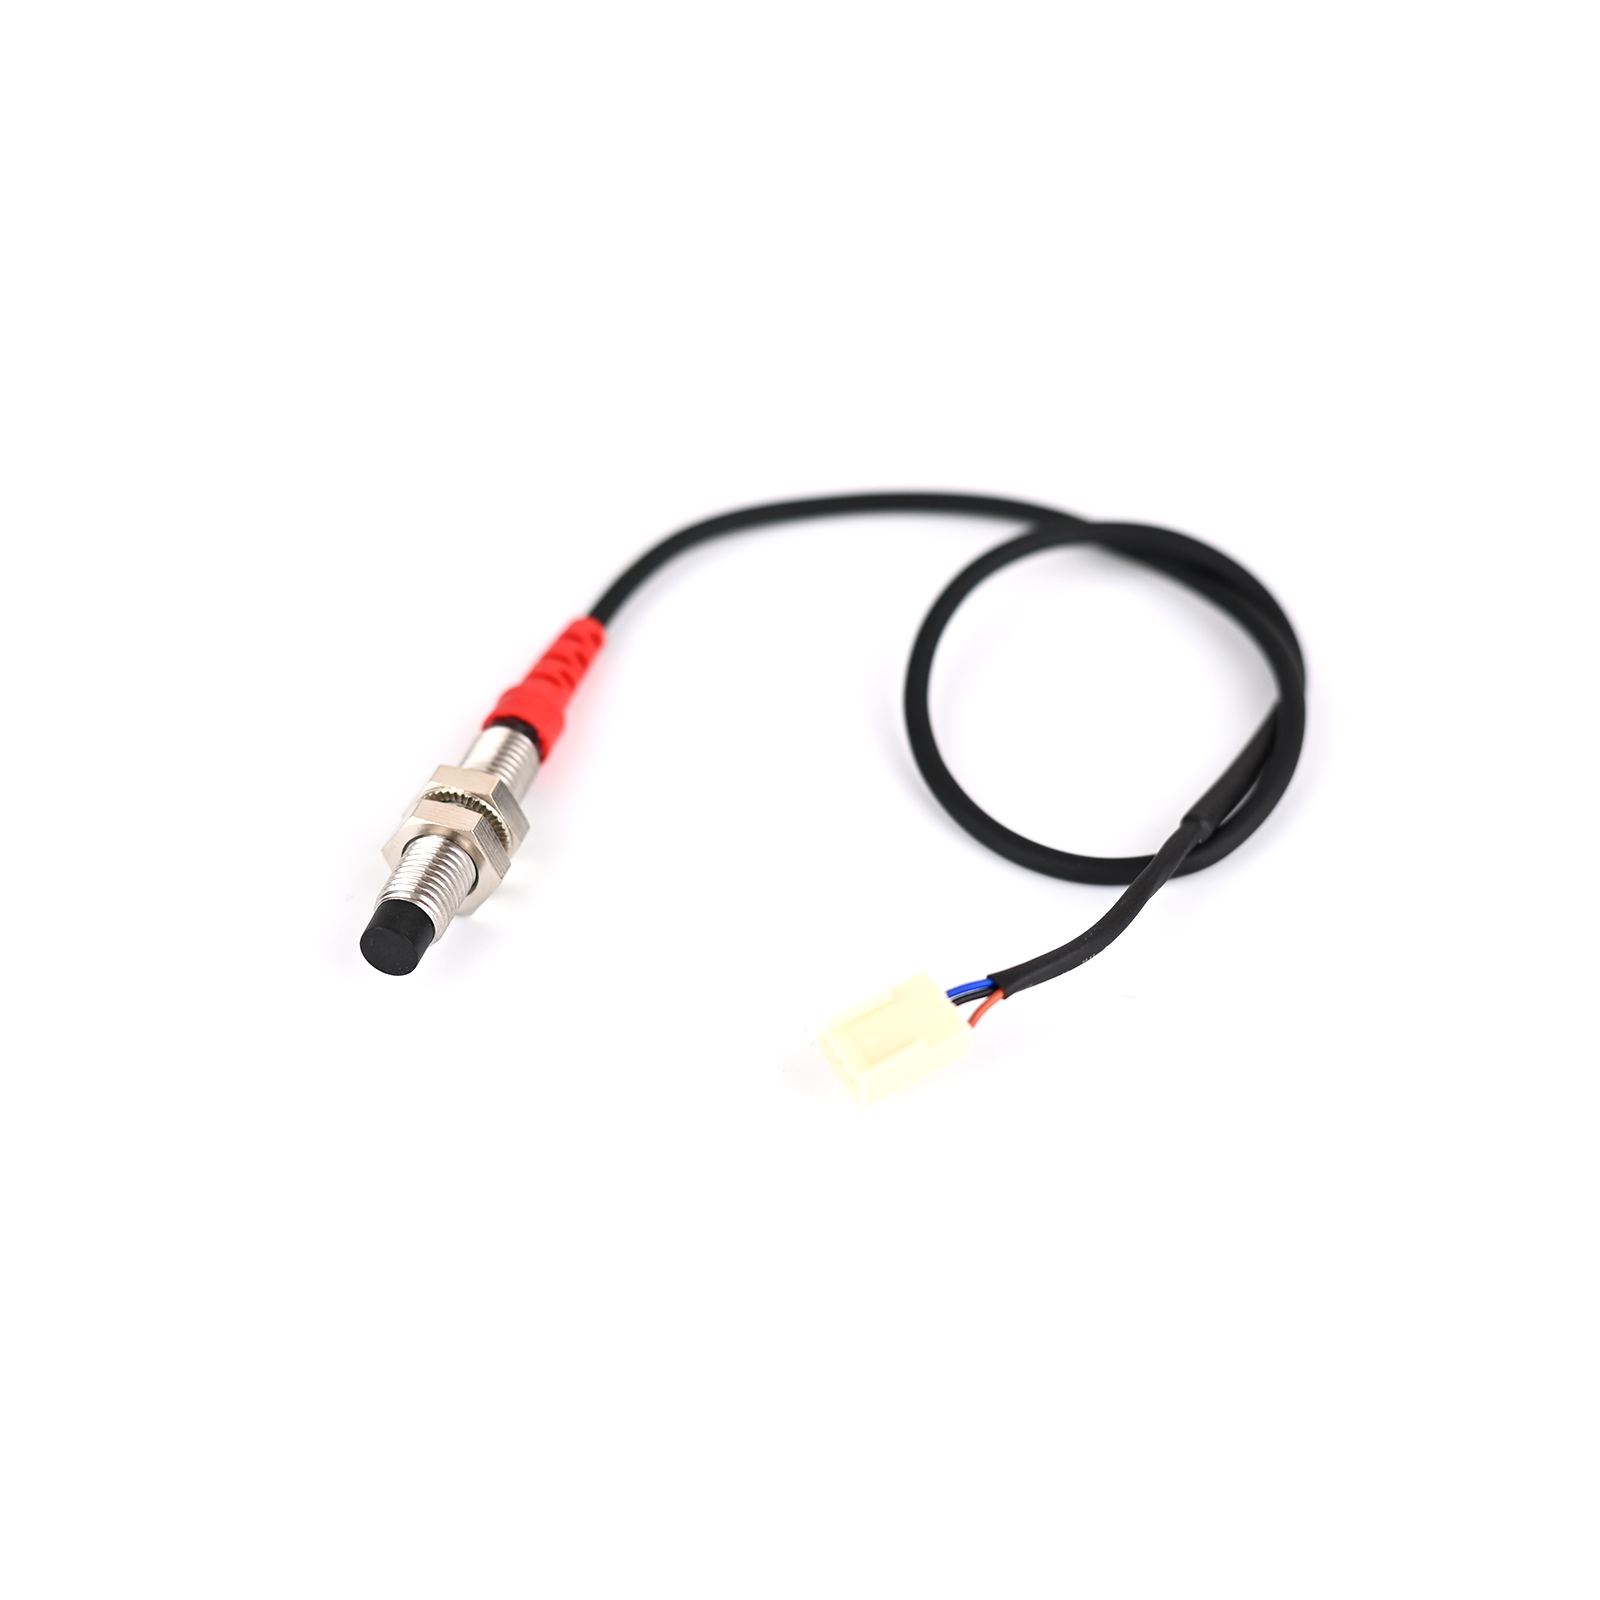
How to change: Proximity sensor - RPM
How to replace your RPM (Motor) Proximity sensor.
Sections:
When to replace your RPM Proximity sensor
If you have issues with the motor, it could be due to a faulty proximity sensor. Be sure to check that your motor gear ratio settings are correct, and before buying a new sensor, go through our troubleshooting guide for the RPM proximity sensor.
Where to buy a Proximity Sensor
Your spare universal proximity sensor was sent along with your ROEST. You must place an order if you no longer have a spare one. The nonflushed type is recommended for the motor RPM, but both work.
Before you start
⚠️DISCLAIMER
Information in this document is believed to be accurate and reliable. However, the manufacturer does not give any representations or warranties, expressed or implied, as to the accuracy or completeness of such information and shall have no liability for the consequences of the use of such information. The manufacturer is not liable or responsible for any problems arising from the attempted repair. The manufacturer reserves the right to make changes to information published in this document, including without limitation specifications and product descriptions, at any time and without notice. The manufacturer's products are not designed, authorized, or warranted to be suitable for use in applications where failure or malfunction can reasonably be expected to result in personal injury, death, or severe property or environmental damage. The manufacturer accepts no liability for inclusion and/or use of its products in such equipment or applications and therefore such inclusion and/or use is for the customer’s own risk.
⚠️SAFETY INSTRUCTIONS
make sure the roaster is turned off
the power cord has to be unplugged
follow the steps as instructed below
Tools
12-millimeter spanner.
Instructions
Before starting - remove the top plate and lefthand side panels.
Place your roaster, so you have a good view of the sensor.
View of the proximity sensor from the left-hand side. Take a photo or note how the cables are tied along the metal bracket. The most important thing is to separate the two left cables (burgundy and blue) from the right side cables.
Close-up of the proximity sensor.
Use the 12-millimeter spanner on the nuts holding the sensor in place, and unscrew the sensor from the bracket. The sensor cable is tied along the metal bracket (called the motor bracket), and all of these ties need to be removed. Remove the old sensor from the PCB, and connect the new one. Feed the cable down the metal bracket the same way as the old one, and cable tie all the cables the same way it was before. When fitting the RPM proximity sensor, ensure the distance between the RPM plate and sensor is not too great; it should be as small as possible without them touching. The sensor should flash red when the machine is powered on.
You can carefully test the roaster without the panels on to see if you need to adjust the distance some more; make sure not to heat it up.
When finished, reassemble the side panels and top plate.


