
How to change: Fuse
How to replace a fuse on your ROEST.

Notice the difference between the fuses.
Types of fuses
There are two types of fuses based on voltage: 115V and 230V.
Important: Make sure to use the correct type of fuse. See the difference in the photo above.
Where to buy fuse?
Are you out of fuses? Visit our e-shop to purchase a new one! Note: see the instructions below - there is one spare fuse inside your roaster.
Before you start
⚠️DISCLAIMER
Information in this document is believed to be accurate and reliable. However, the manufacturer does not give any representations or warranties, expressed or implied, as to the accuracy or completeness of such information and shall have no liability for the consequences of the use of such information. The manufacturer is not liable or responsible for any problems arising from the attempted repair. The manufacturer reserves the right to make changes to information published in this document, including without limitation specifications and product descriptions, at any time and without notice. The manufacturer's products are not designed, authorized, or warranted to be suitable for use in applications where failure or malfunction can reasonably be expected to result in personal injury, death, or severe property or environmental damage. The manufacturer accepts no liability for inclusion and/or use of its products in such equipment or applications and therefore such inclusion and/or use is for the customer’s own risk.
⚠️SAFETY INSTRUCTIONS
make sure the roaster is turned off
the power cord has to be unplugged
follow the steps as instructed below
Instructions
Below is a step-by-step guide on how to change a broken fuse or if converting between voltages.

1. Here, you can find the fuse. Open it using a hex key.

2. Pull it out.

3. Take it all the way out.

4. The fuse on the photo is a spare fuse. It is not in use when placed in this position. You don’t need to replace it.

5a. This is the fuse you need to change if broken or converting your machine to 230V.

5b. This is the fuse you need to change if broken or converting your machine to 115V.

6. Place the fuses back in the roaster.

7. Push in until it clicks.
You are ready to go!
How to change: Heating Element
Instructions on how to replace your heating element.

When to replace Heating Element
When your roaster is not heating up even though you closed the drum, the power is dropping or simply not increasing - your heating element could be broken. Read through this article first to check if your heating element needs to be replaced. If you’re having repeated problems with your heating element, read through this post on heating elements and their lifetime.
Important
We designed the roaster to be very responsive even with low airflow. This gives the operator the extra freedom to create his preferred profile, but it can cause some challenges for the heating element as it will operate at a higher temperature. Our heating elements are hand-made using only the best materials we could source, but there can still be variables that reduce the lifetime of the heating elements. To compensate, we made the heating elements easy to change. It’s also possible to increase the speed of the heat fan via the service menu. This will have a positive effect on the service life of the heating element.
Where to buy Heating Element
Your spare heating element was sent along with your ROEST. If you don’t have another spare one, you need to place your order.
Before you start
⚠️DISCLAIMER
Information in this document is believed to be accurate and reliable. However, the manufacturer does not give any representations or warranties, expressed or implied, as to the accuracy or completeness of such information and shall have no liability for the consequences of the use of such information. The manufacturer is not liable or responsible for any problems arising from the attempted repair. The manufacturer reserves the right to make changes to information published in this document, including without limitation specifications and product descriptions, at any time and without notice. The manufacturer's products are not designed, authorized, or warranted to be suitable for use in applications where failure or malfunction can reasonably be expected to result in personal injury, death, or severe property or environmental damage. The manufacturer accepts no liability for inclusion and/or use of its products in such equipment or applications and therefore such inclusion and/or use is for the customer’s own risk.
⚠️SAFETY INSTRUCTIONS
make sure the roaster is turned off
the power cord has to be unplugged
follow the steps as instructed below
TIME
5 - 10 minutes
TOOLS
hex keys (included in package with ROEST sample roaster)
How to replace Heating Element - Instructions
1. Remove the top plate. Watch the video to see how to remove the top plate.
2. Replace the heating element.
3. Install back the top plate. Watch the video to see how to install the top plate.
How to change: Proximity sensor - charge handle
Instructions on how to replace your charge handle proximity sensor.
If your roasting process does not start when pulling the charge handle, or you have a warning message on the screen (charge handle open) when the charge handle is resting in its place, your proximity sensor could be broken.
HOW TO DETERMINE IF A PROXIMITY SENSOR IS BROKEN:
Remove the top plate so you can see the sensors.
Move the charge-handle to see if a red light flashes on the sensor. If it does, it works.
If there is no red light, try to move the proximity sensor closer to the charge-handle using a 12-millimeters spanner.
Check the connection on the PCB, ensuring that the cable hasn’t been pulled off or isn’t properly plugged in.
Check that the proximity sensors for the drop and charge handle haven’t been swapped.
If none of the above fixes it, your proximity sensor is broken. Buy a new one or contact support if your machine is still under warranty.
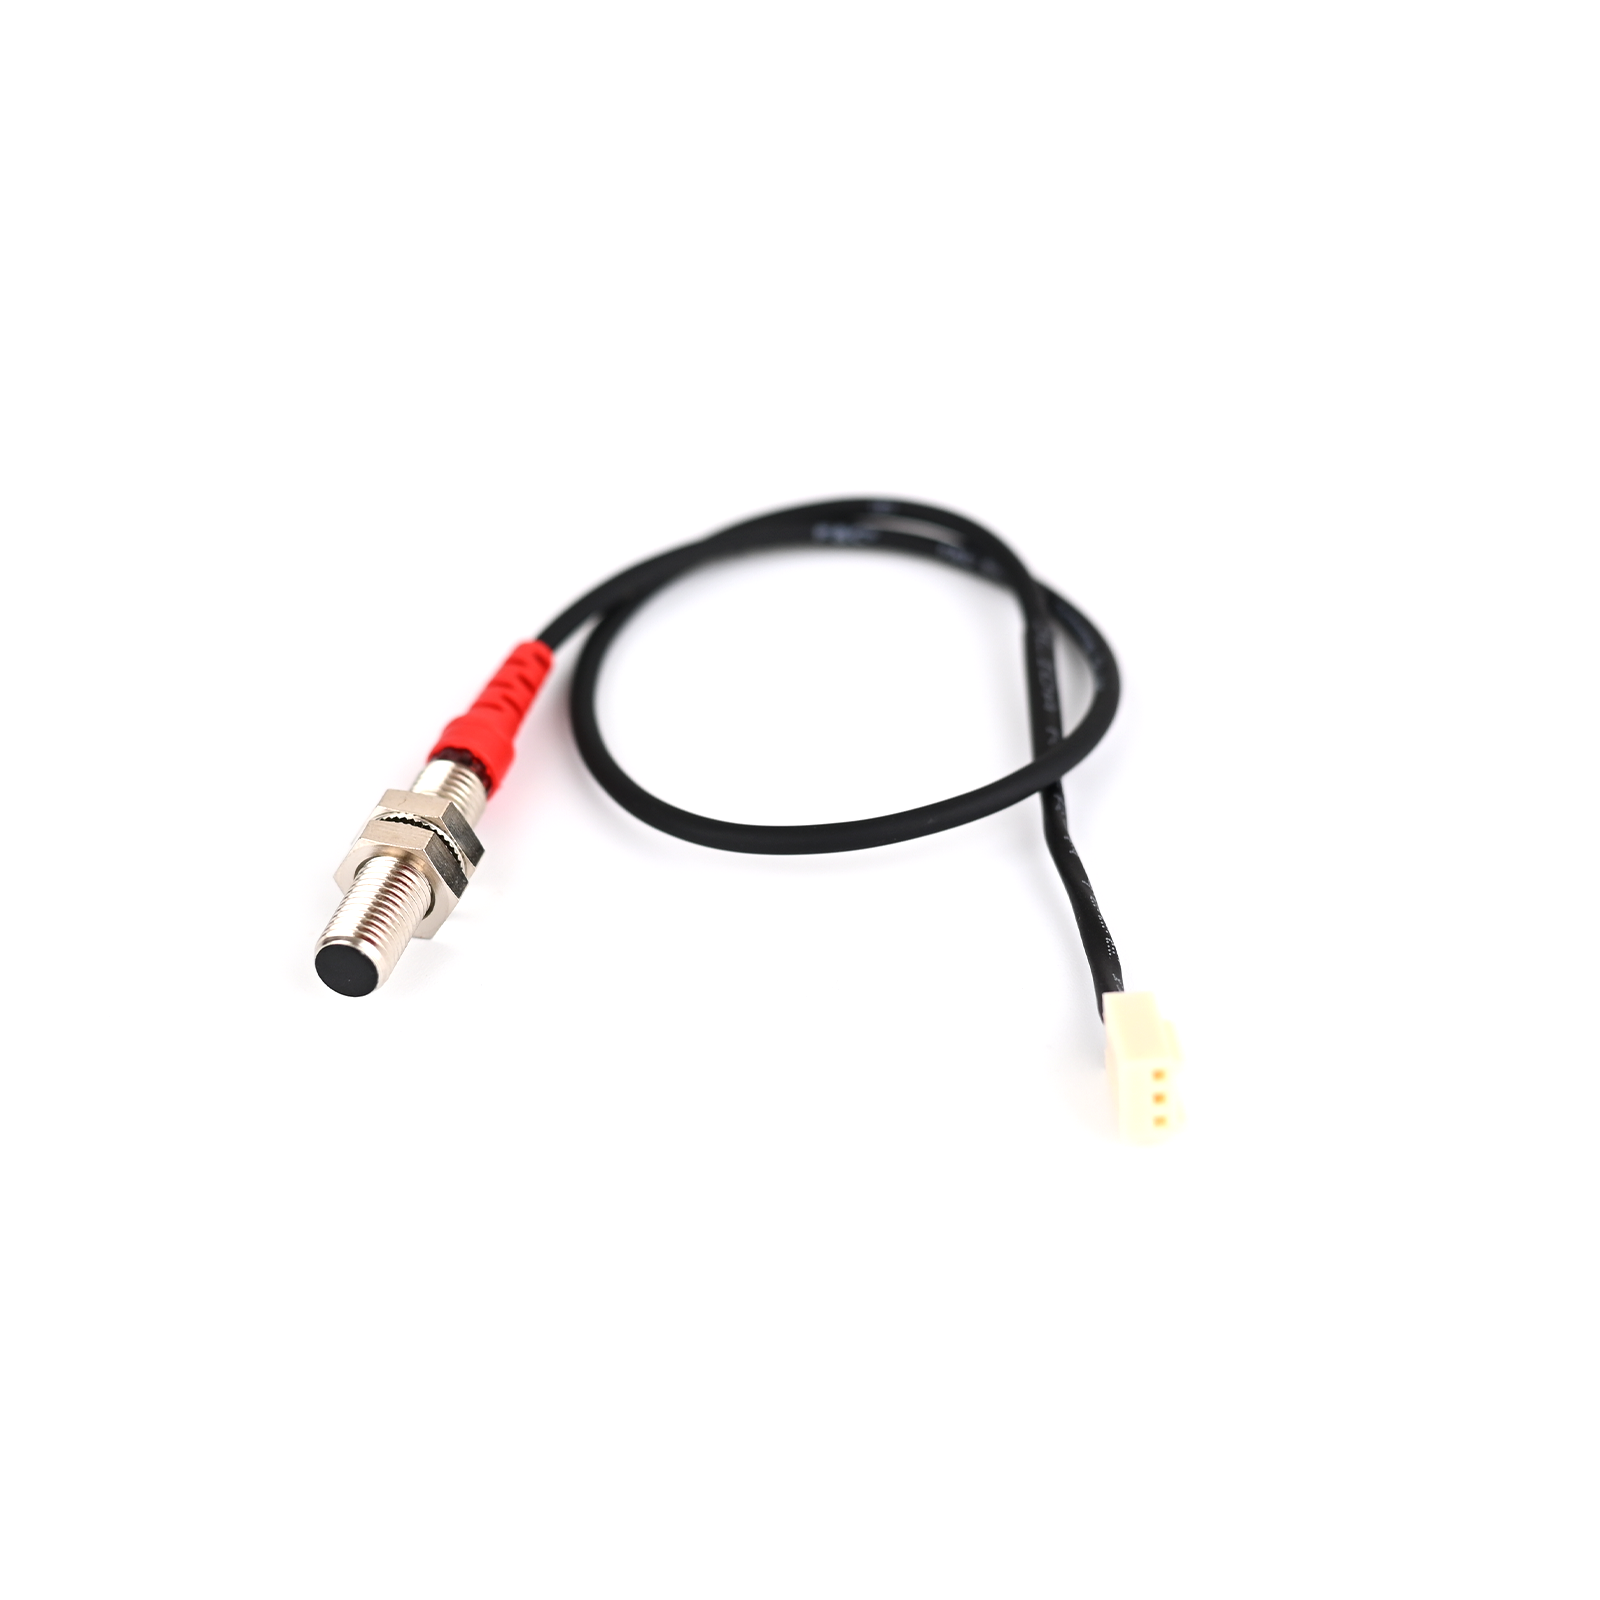
Where to buy Proximity Sensor
Your spare universal proximity sensor was sent along with your ROEST. If you don’t have a spare one, you need to place your order.
Before you start
TIME
5 - 10 minutes
TOOLS
2-millimeters hex keys (included in the package with ROEST sample roaster)
12-millimeters spanner
SAFETY INSTRUCTIONS
make sure the roaster is turned off
power cord has to be unplugged
follow the steps as instructed below
Instructions
Follow the steps below:
Remove the top plate using the 2-millimeters hex keys.
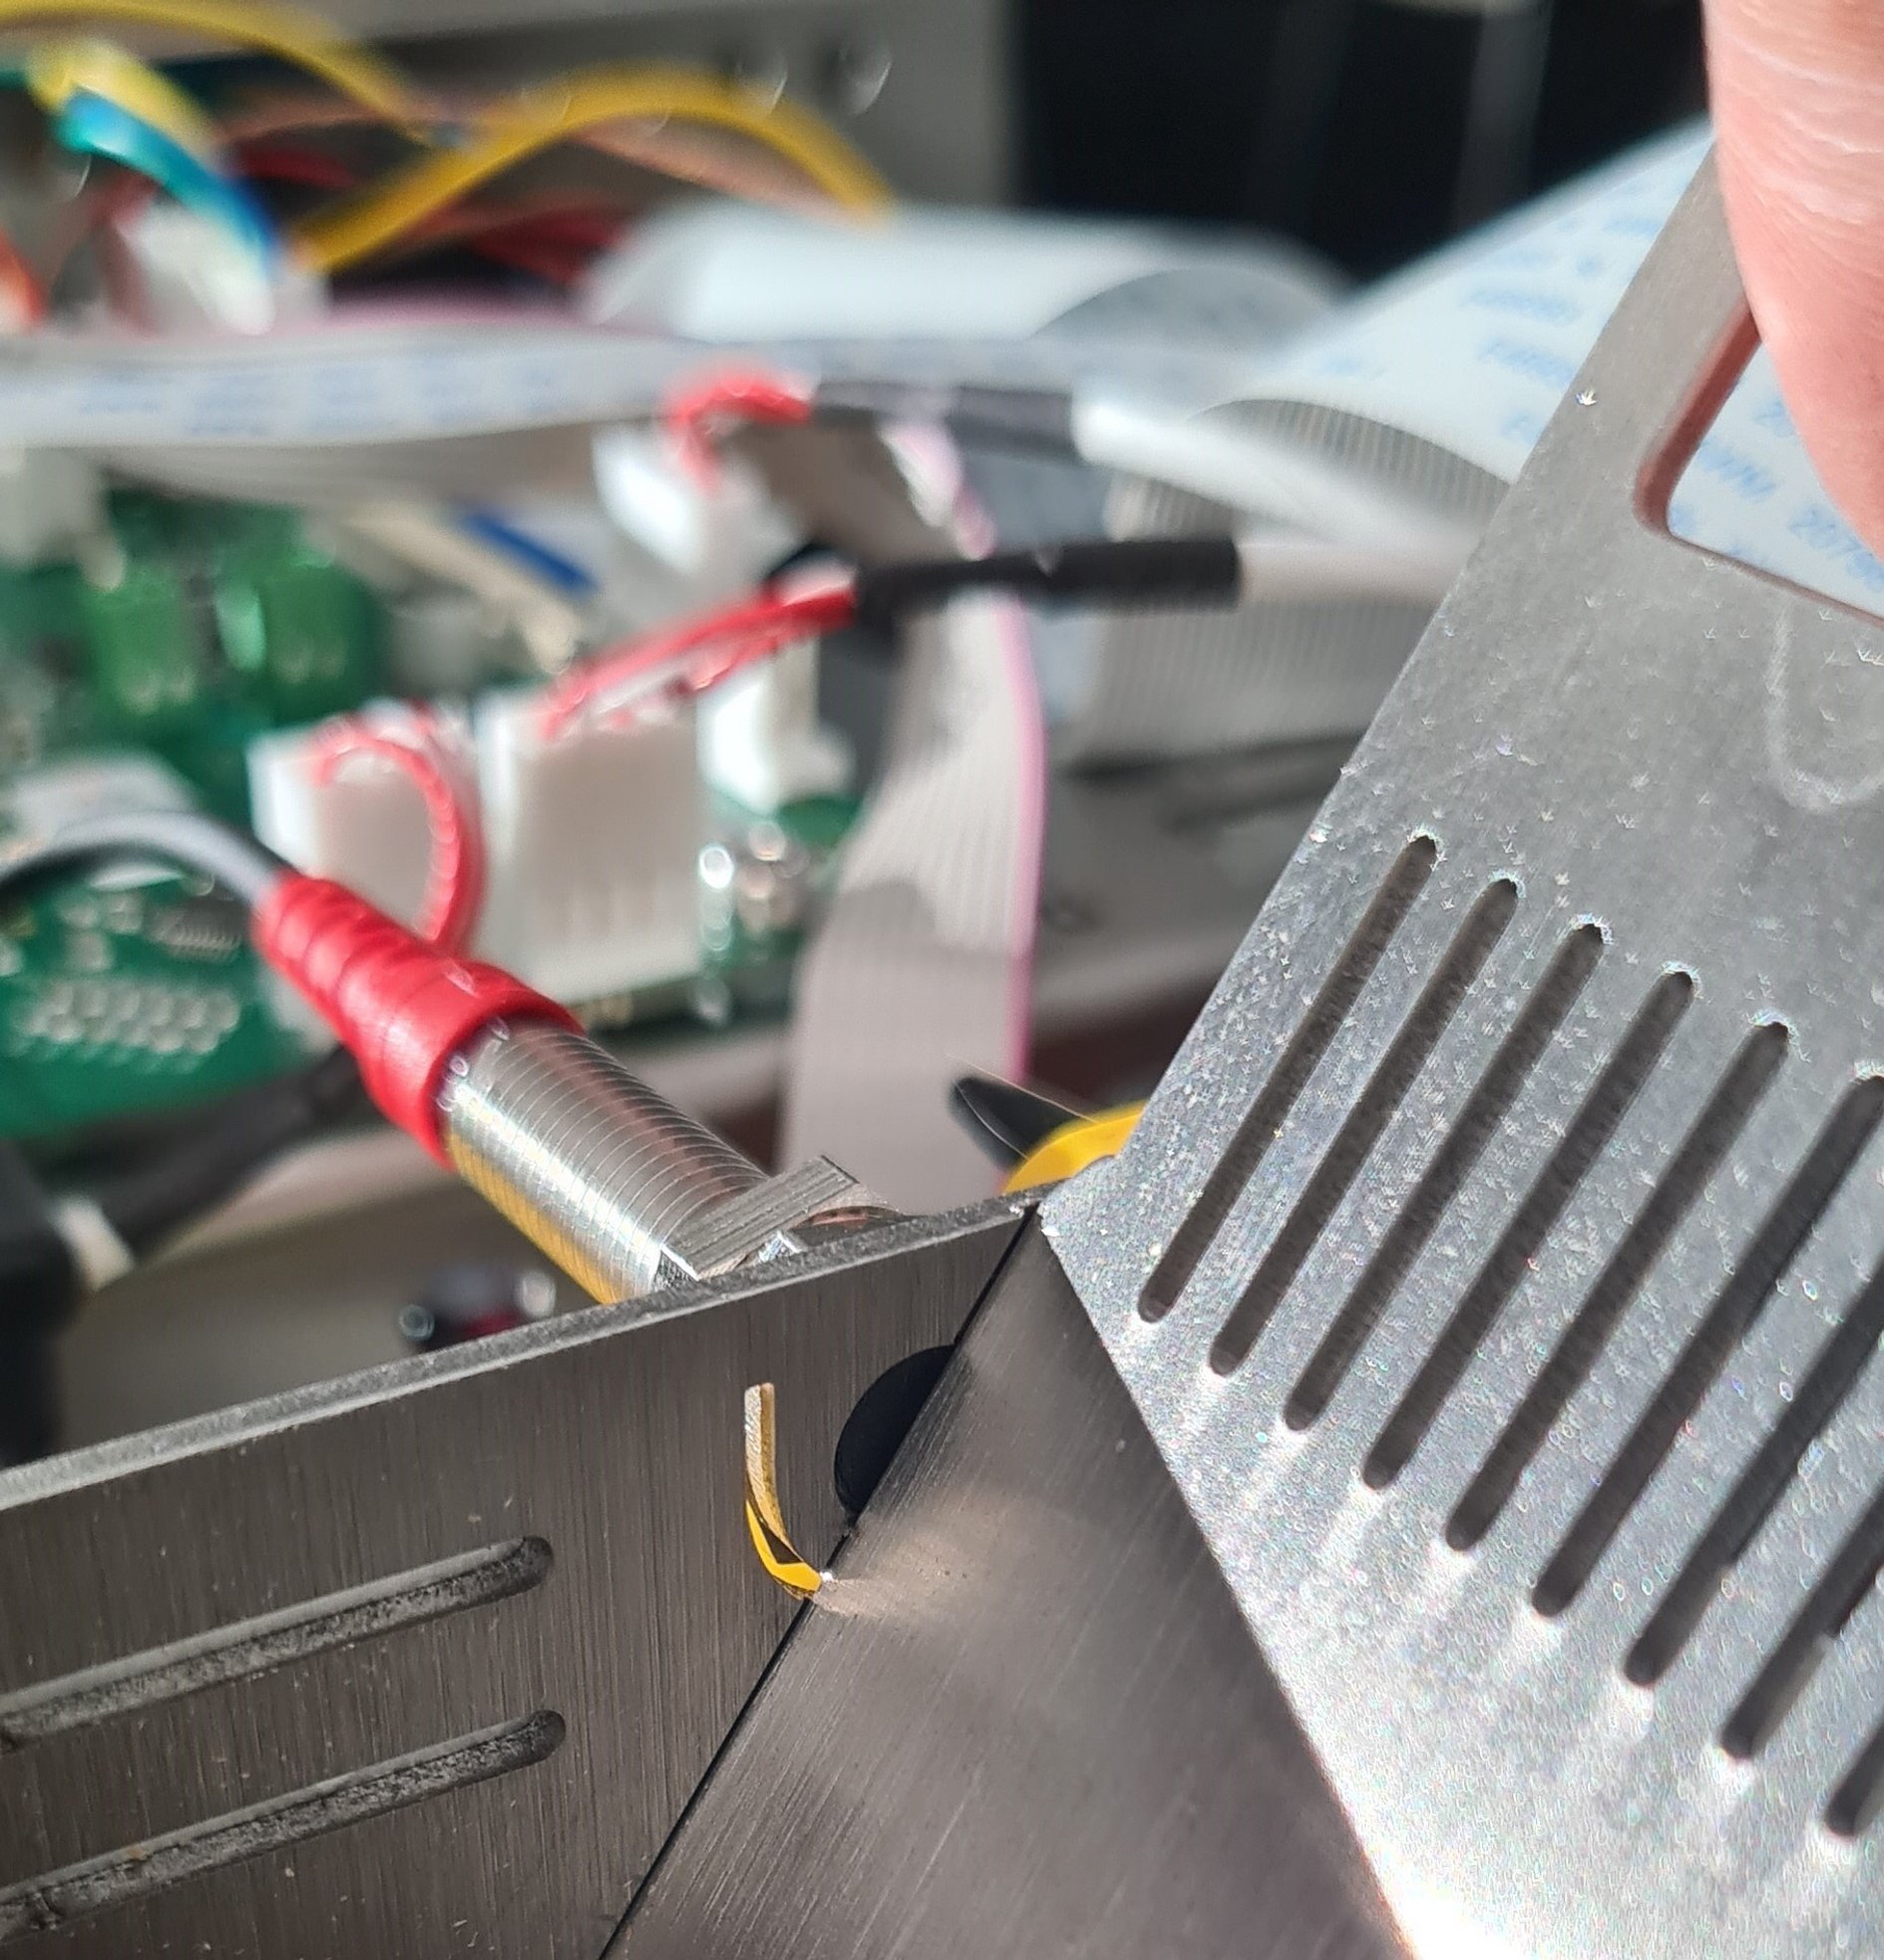
Using the 12-millimeter spanner, remove the proximity sensor in front of the charge handle. In order to remove the sensor from the machine you will have to undo the cable ties holding the proximity sensor cable in place.

There is no correct order to how they must be tied together; the primary purpose is to keep the cables neatly in place and out of danger of getting damaged. You may notice we’ve tied some cables with loops before fastening them. This is useful when you have to change the PCB, making it possible to unfasten the components from the PCB without undoing the cable ties. You can use the photo above as a reference when tying the cables again. The pictures below show the trajectory of the cables from the drop and charge handle proximity sensors.


Above: The two cables can be positioned between the two components, like in the photo.
To the right: The positions of the proximity sensors on the PCB.

When the faulty proximity sensor has been removed, the new one must be installed. The proximity sensor comes with two nuts with a sawtooth pattern on one side. The direction of one of these nuts must be changed, so the sawtooth pattern faces the other way, as shown in the photos below.

The new proximity sensor will come with the nuts facing each other with their sawtooth pattern.

Rotate the nut closest to the end, so the sawtooth pattern faces toward the end instead of the other nut.
When installing the new sensor, you have to make sure it doesn’t interrupt the trajectory of the charge handle, which can make the handle hard to move and destroy the new sensor.

The sensor must not be in the way of the charge handle but must, at the same time, not be installed too far away for it to register the charge handle moving.
The best way to correct the distance is to pull the charge handle up to cover the hole to the proximity sensor. You then insert and screw in the proximity sensor until it can go no further in. The distance is good if the charge handle can fall down again without any issues.
Pull the handle up, and install the proximity sensor with a 12-millimeter spanner. Both nuts should be tightened firmly but not overly tight.
Tie the new proximity sensor with cable ties so it’s collected neatly, like in the photo below.

How to replace the Proximity Sensor - video
Troubleshoot for the Proximity sensor drop handle: How to tell if it’s broken and install it correctly.
You’re ready to go!
How to change: Proximity sensor - drop handle
Instructions on how to replace your drop handle proximity sensor.
If your roaster is not heating up (read here first) or there is a warning message on the screen (hatch open) when you move the drop handle to the downwards position, your proximity sensor could be broken.
HOW TO DETERMINE IF A PROXIMITY SENSOR IS BROKEN:
Remove the top plate so you can see the sensors.
Move the drop handle to see if a red light flashes on the sensor. If it does, it works.
If there is no red light, try to move the proximity sensor closer to the drop handle using a 12-millimeters spanner.
Check the connection on the PCB, ensuring that the cable hasn’t been pulled off or isn’t properly plugged in.
Check that the proximity sensors for the drop and charge handle haven’t been swapped.
If none of the above fixes it, your proximity sensor is broken. Buy a new one or contact support if your machine is still under warranty.
Where to buy Proximity Sensor
Your spare universal proximity sensor was sent along with your ROEST. If you don’t have a spare one, you need to place your order.
Before you start
⚠️DISCLAIMER
Information in this document is believed to be accurate and reliable. However, the manufacturer does not give any representations or warranties, expressed or implied, as to the accuracy or completeness of such information and shall have no liability for the consequences of the use of such information. The manufacturer is not liable or responsible for any problems arising from the attempted repair. The manufacturer reserves the right to make changes to information published in this document, including without limitation specifications and product descriptions, at any time and without notice. The manufacturer's products are not designed, authorized, or warranted to be suitable for use in applications where failure or malfunction can reasonably be expected to result in personal injury, death, or severe property or environmental damage. The manufacturer accepts no liability for inclusion and/or use of its products in such equipment or applications and therefore such inclusion and/or use is for the customer’s own risk.
⚠️SAFETY INSTRUCTIONS
make sure the roaster is turned off
the power cord has to be unplugged
follow the steps as instructed below
How to replace Proximity Sensor
TIME
5 - 10 minutes
TOOLS
2-millimeters hex keys (included in the package with ROEST sample roaster)
12-millimeters spanner
Instructions
Follow the steps below:
Remove the top plate using the 2-millimeters hex keys.
Using the 12-millimeter spanner, remove the proximity sensor in front of the drop handle. In order to remove the sensor from the machine you will have to undo the cable ties holding the proximity sensor cable in place.

Note: There is no correct order to how they must be tied together; the primary purpose is to keep the cables neatly in place and out of danger of getting damaged. You may notice we’ve tied some cables with loops before fastening them. This is useful when you have to change the PCB, making it possible to unfasten the components from the PCB without undoing the cable ties. You can use the photo above as a reference when tying the cables again. The pictures below show the trajectory of the cables from the drop and charge handle proximity sensors.


Above: The two cables can be positioned between the two components, like in the photo.
To the right: The positions of the proximity sensors on the PCB.

When the faulty proximity sensor has been removed, the new one must be installed. The proximity sensor comes with two nuts with a sawtooth pattern on one side. The direction of one of these nuts must be changed, so the sawtooth pattern faces the other way, as shown in the photos below.

The new proximity sensor will come with the nuts facing each other with their sawtooth pattern.
Rotate the nut closest to the end, so the sawtooth pattern faces toward the end instead of the other nut.
When installing the new sensor, you have to make sure it doesn’t interrupt the trajectory of the charge handle, which can make the handle hard to move and destroy the new sensor.

With the drop handle sensor, you must use your eyes to ensure the correct distance. You know it’s close enough if you turn on the machine, move the drop handle down, and see the light flashing on the sensor. The drop handle should also be smooth moving and not touching the sensor.
Tie the new proximity sensor with cable ties, so it’s collected neatly, like in the photo below.

How to replace the Proximity Sensor - video
You’re ready to go!
-
Adjustable roasting parameters
Service menu - includes recommended settings for motor gear ratio, cooling fan, heater fan, and PID settings.
-