How to evaluate the quality of your coffee. Part 1: Green Bean Evaluation
What sets speciality coffee apart from any other grade on the market is the quality. To ensure it is delivered in the hands of your customers, there is a meticulous process every coffee business needs to follow. How should the Quality Control look like and what procedures are required? Read the article by Julia Rebecca Richardson, coffee professional with years of experiences in QC lab at coffee import company.
Over to Julia:
Why you need a Quality Control Department
Whether you are buying coffee from importers or directly from a farm, the quality control evaluation process centers around the green coffee. In most cases, the buying process is a trade of trust. The trust in those who will follow-up at origin with producers, farmers and suppliers to ensure that all specialty coffee practices are met before the coffee is being shipped. Ideally, you want to have the opportunity to evaluate the coffee from the start of the buying process to lower the potential risks and meet your standards. Even then, it is essential to evaluate all pre-shipment samples and arrivals, to have documented evidence of the quality. You need to be able to track backwards if a quality issue arises.
It is important to evaluate your green beans, as the level of quality and number of defects can affect your overall cup. Even one single defected bean can easily ruin the entire cup profile for an entire roast. A number of factors affect the green bean quality, starting at cultivation, continued by picking, drying, milling, storage and transit.
The quality control evaluation typically happens in a lab portion of your roastery, where you begin a physical analysis of several parameters: the green bean colour, uniformity of size, and number of defects per sample. As the process of sorting green coffee is time consuming, an easy assumption is:
- the greater the number of defects, the lower the grade of coffee
- the fewer the number of defects, the higher the grade of coffee
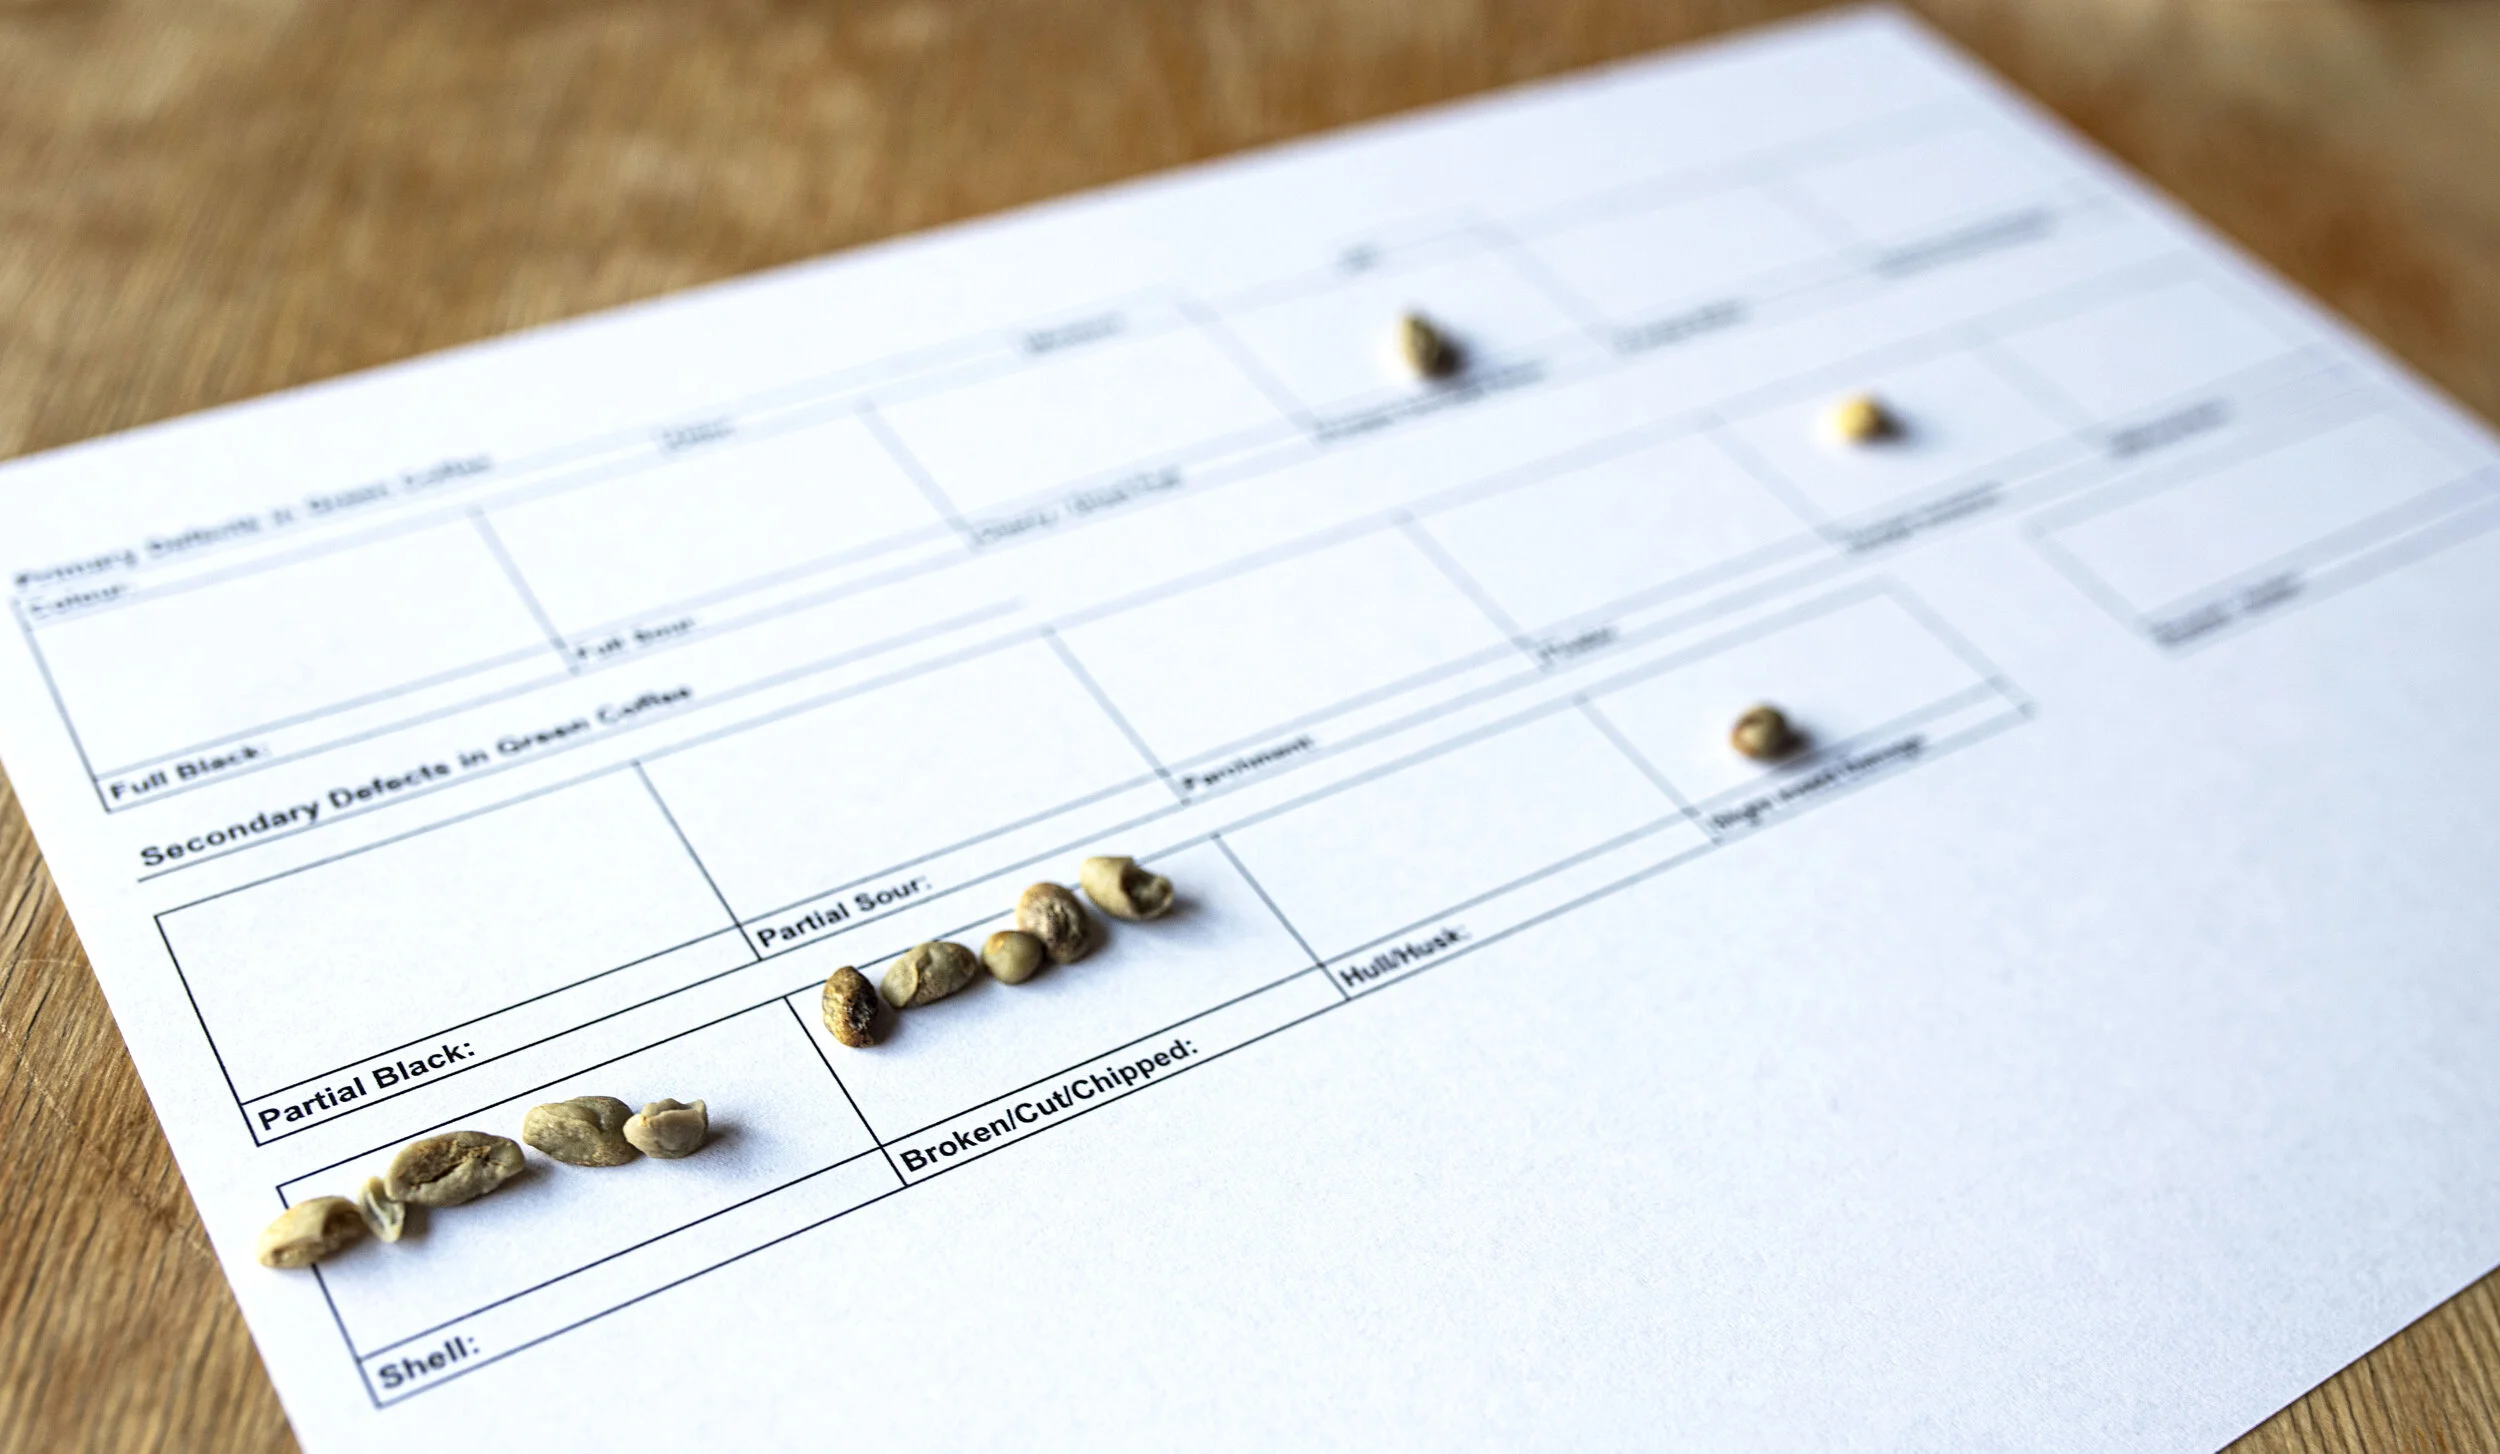
Green Grading: Primary and Secondary Defects Chart
In short, the evaluation continues by testing moisture activity and content, followed by sample roasting, cupping and scoring the coffee, and recording the data and sending feedback to relevant departments.
Essentials for your Quality Control Lab
QC Equipment
Some basic equipment that is useful for starting a QC lab is:
A working document to track lots, defects, cupping notes and scores. You could either formulate your own fields on a Google or Excel document or use some software (e.g. Cropster).
Ultraviolet flashlight, have a dark space or a box with a hole on top for analysing, and protective eyewear.
Moisture and Density Analyzer (e.g. Sinar Bean Pro or ArgraTronix Coffee Tester)
Water Activity Reader (e.g. AquaLab Pawkit Water Activity Reader, AquaLab 4TE or Extech Moisture Reader)
Appropriate surface, mat or screen for Green Grading
Sample Roaster to roast, ideally 100 g per batch (ROEST S100)
Refractometer (e.g. VST Lab Coffee III TDS, Atago Pocket Barista)
High Water Standards
Grinder and Scale
Cupping cups and spoons
Calibrated cuppers, if in a group
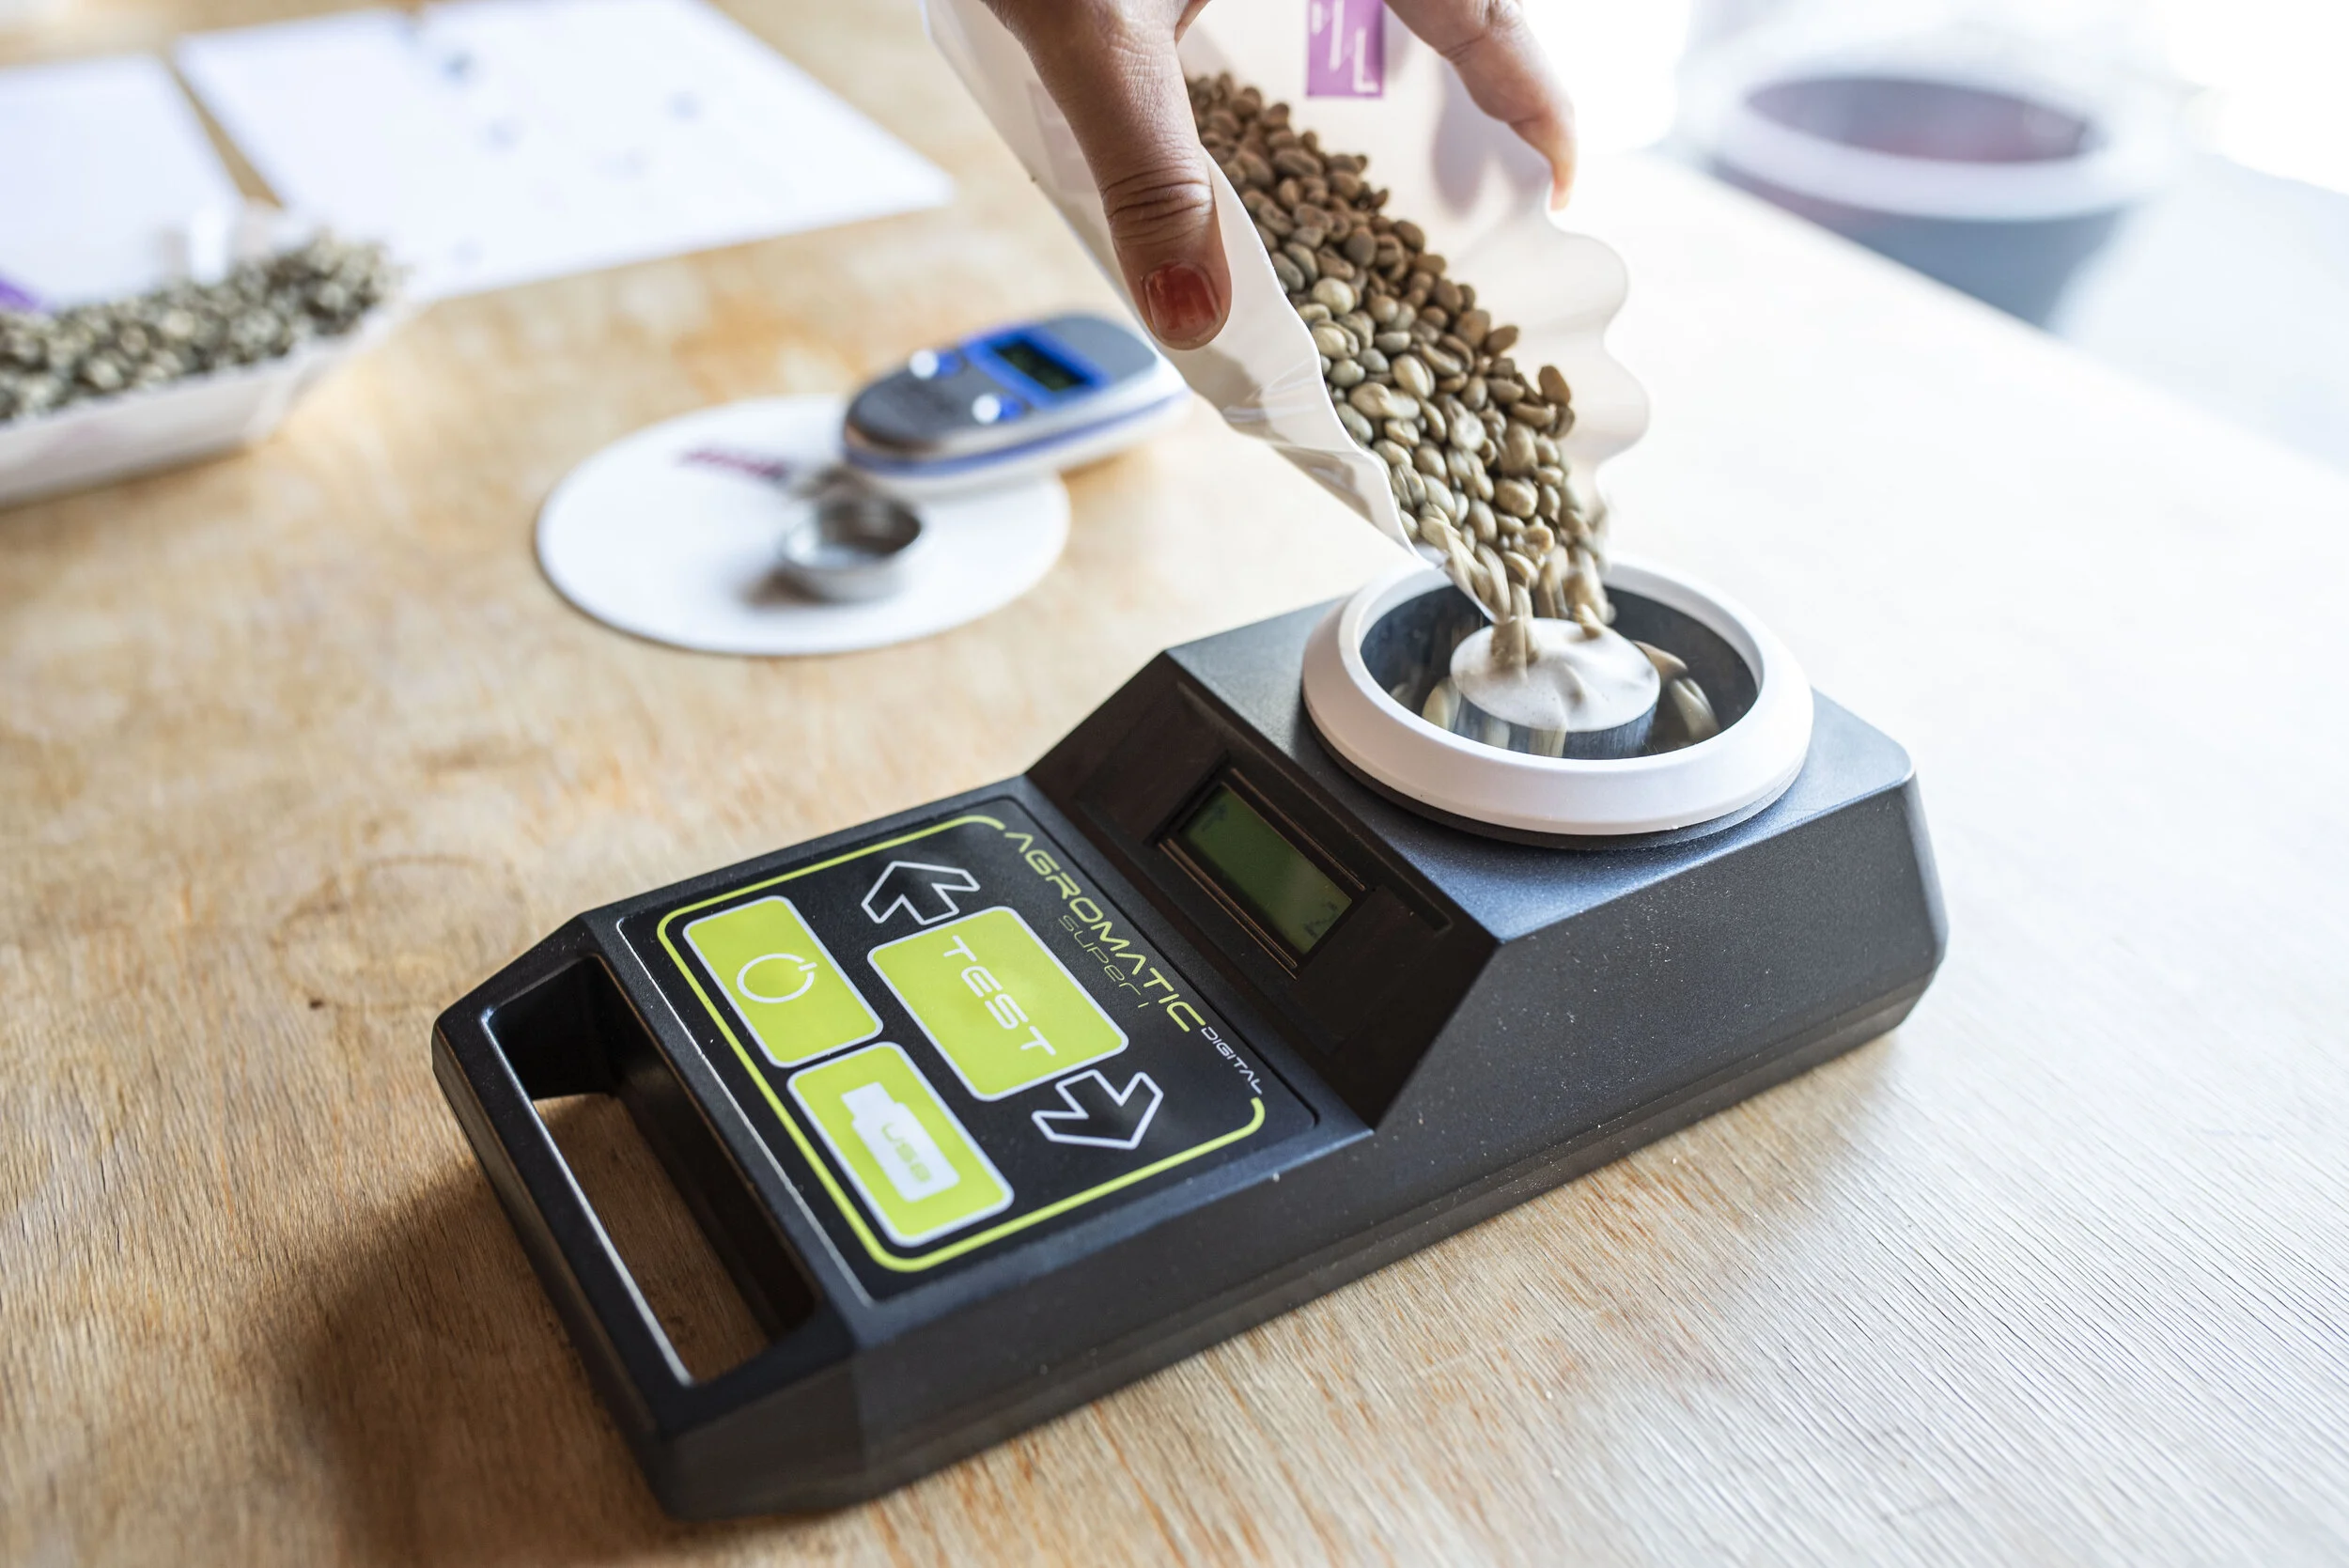
Measuring moisture content.
Size of sample
Whether you’re a green coffee importer or a roastery, you’ll be receiving green coffee for evaluation, purchase planning, or checking the quality of lots in storage. Ideally, to make a proper evaluation you would need a minimum of a 350 g sample. If you notice significant defects right away, it would be wise to pull samples from additional bags of the same lot to identify whether the issue is isolated or widespread.
Room requirements
Green bean evaluation should be done in a stable environment, with controlled humidity, pressure, and airflow. Conditions should be similar to that in your roastery or green bean storage facility.
Routine step by step
1. Keep the data
Once a sample is received or pulled, enter all the data into your work sheet. The data helps track your lot from different bag evaluations, roasts or years,if you have agreements to purchase the same lots. Data tells a story.
An example of some general information that is good to track is the following:
Varietal
Processing
Date of Evaluation
Name of person who did the evaluation
Amount of coffee used in evaluation, ex: 350g
Origin
Lot name and Number
Region, Washing Station, Mill
Harvest
Importer/Supplier
2. Visual green grading
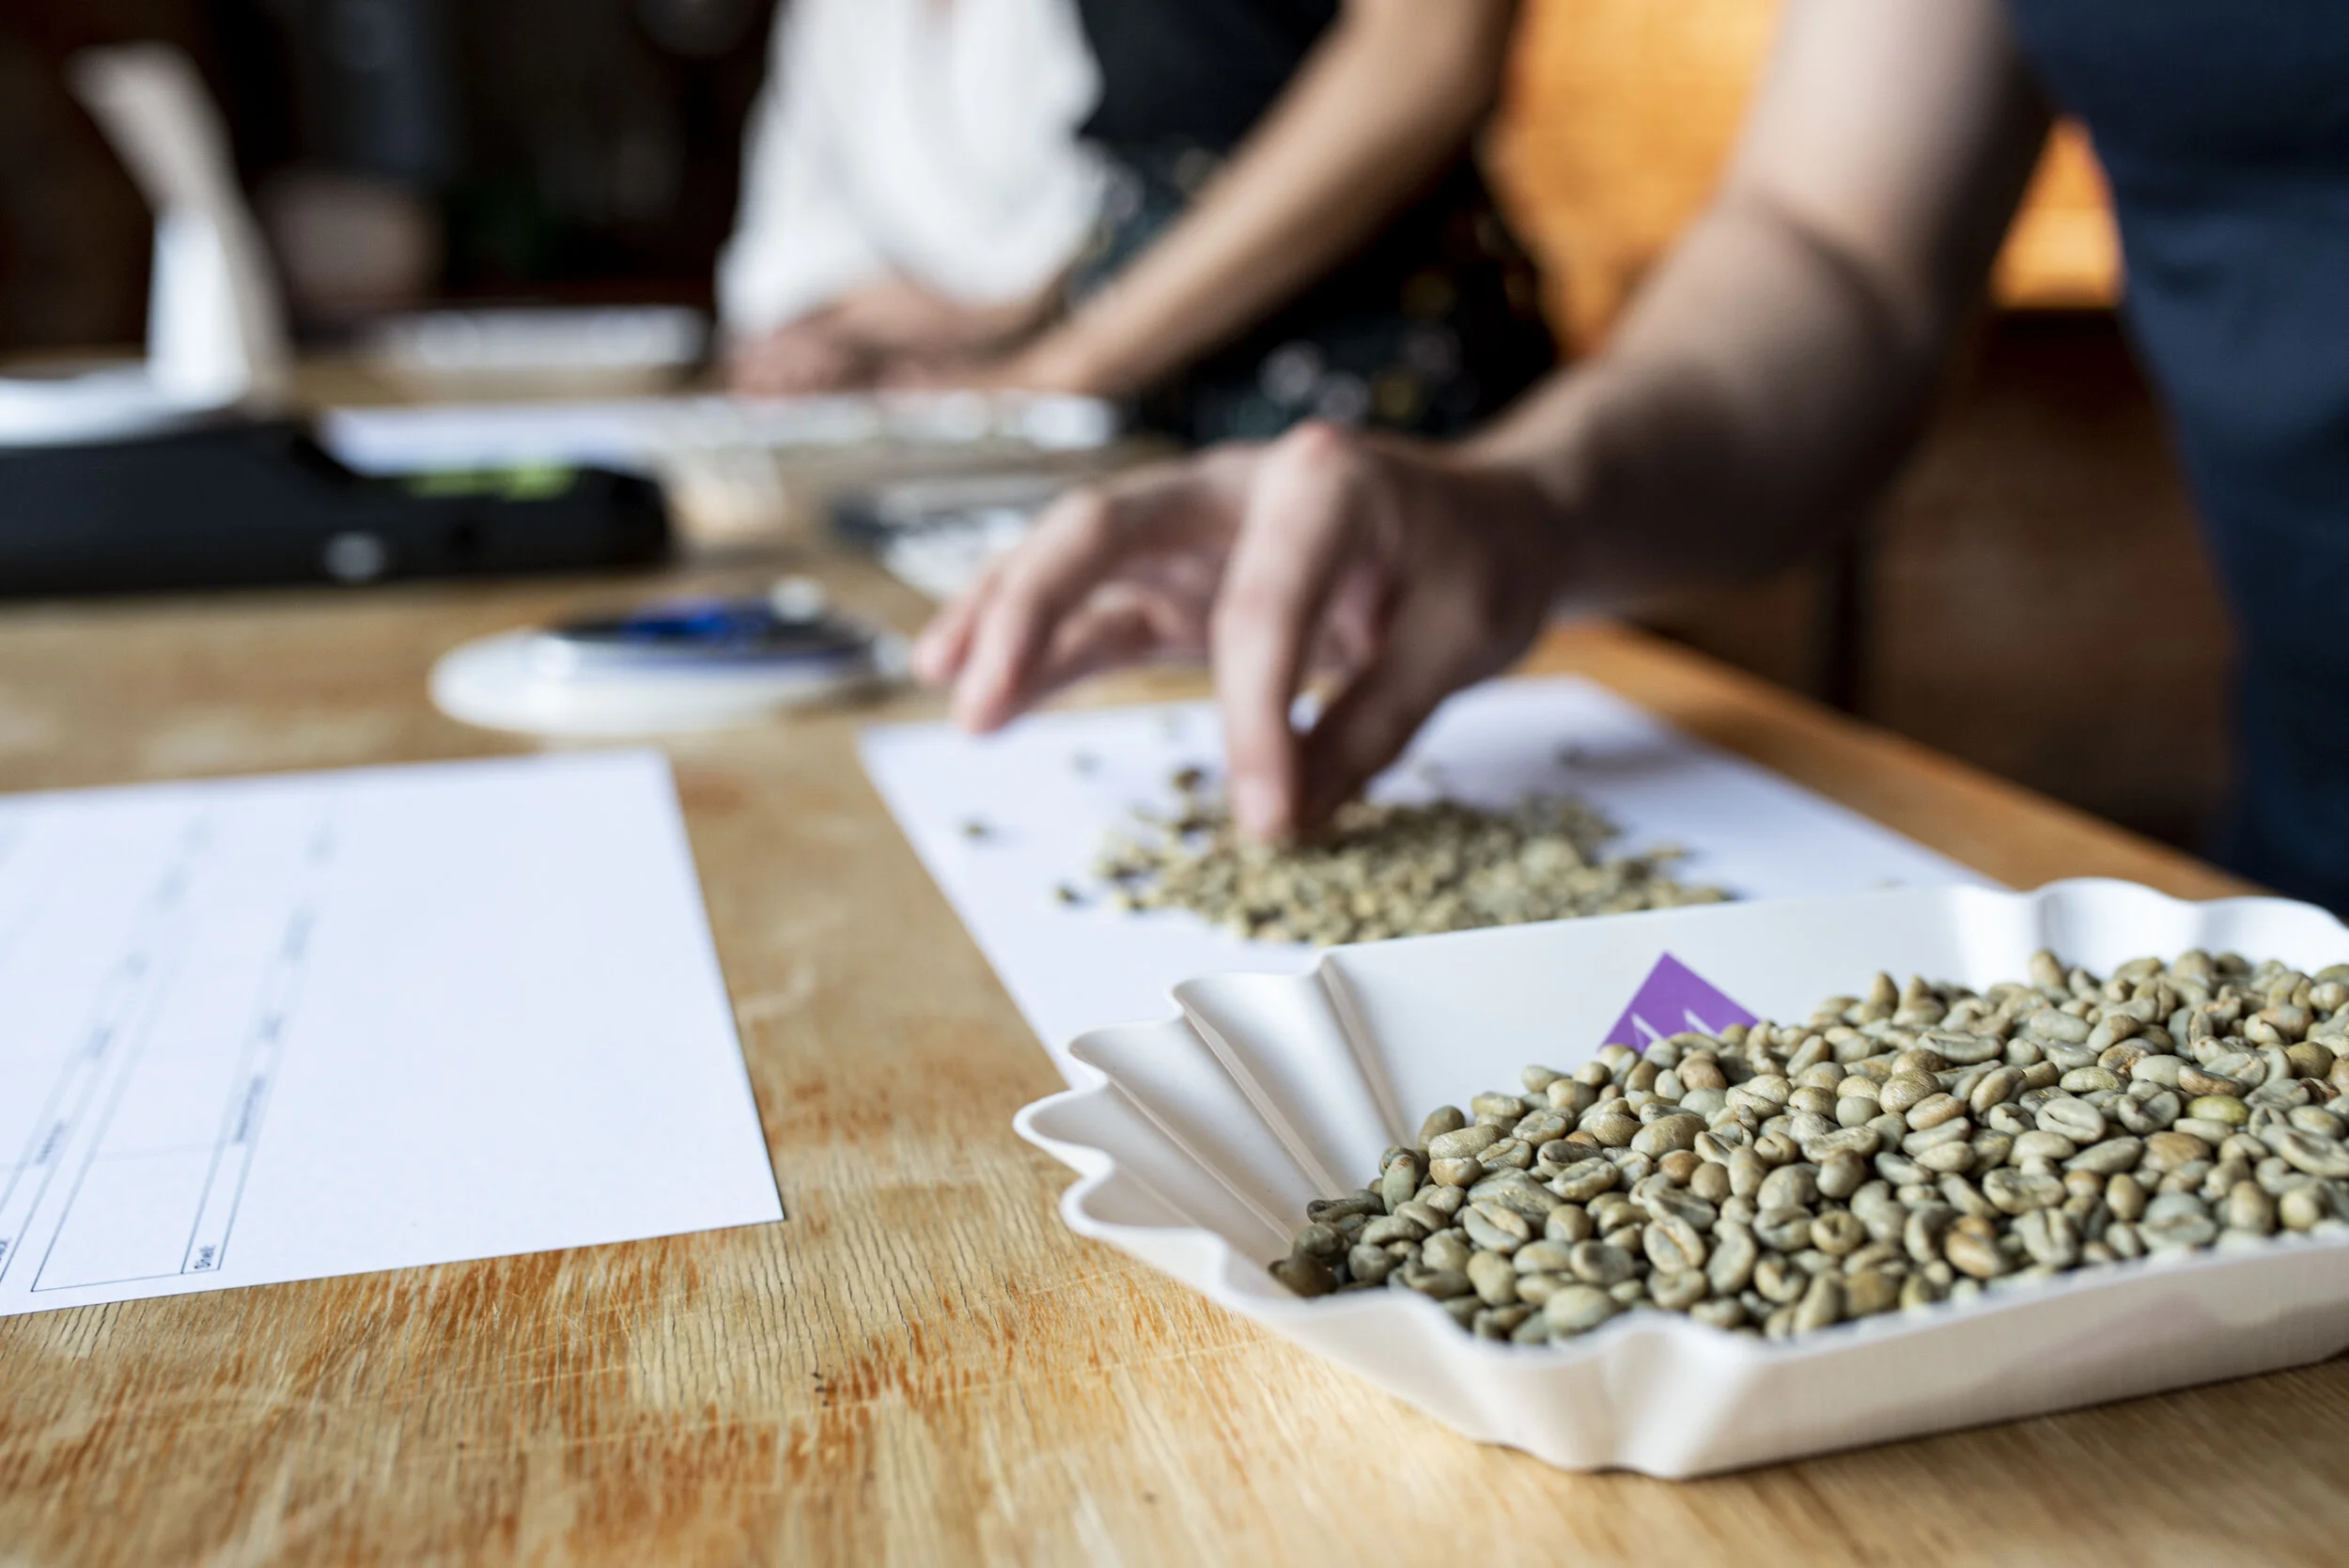
Green coffee grading during the Quality Control at Nordic Approach.
Next step is a visual green grading analysis, followed by an analysis under ultraviolet light. Enter the data into separate columns on your work sheet, making notes on the defects and the ultraviolet activity. The SCAA states that specialty green beans can have no more than 5 full defects in 350 grams of coffee and no primary defects at all. See chart below for category descriptions.
While using the ultraviolet light, you will need protective eyewear, a dark space, and a clean surface to spread the beans out. A makeshift box with a whole cut in the top to see through will do. The ultraviolet light is useful in identifying mold, bacteria, nicks, damage done by pulper, drying, immature beans or with fermentation processes you can see where the damaged areas were in contact with mucilage and bacteria versus parchment. The damaged green beans will light up bright blue under the ultraviolet light making it easy to identify.
3. Water activity
Now your sample is ready for measuring the water activity. A good reading will be between 0.50-0.55. Water activity determines the lower limit of available water for microbial growth. Most bacteria do not grow at water activities below 0.91, and most mold stop growing at water activities below 0.80 and microbial growth doesn’t occur below 0.60. In the case of green coffee, if it is dried too quickly it can result in a water activity higher than 0.60, which results in shorter shelf life, and less desirable flavour profiles.
Measuring Water Activity.
4. Moisture content
Finally, track your moisture content. A good reading for specialty coffee is between 10 %-12 %. Moisture content can have a great effect on how the coffee roasts and cups, a good reading typically provides a balanced, clean cup, great aromas and acidity and scores high. If there is too much moisture due to under-drying bacteria such as fungus and mold, it can ruin an entire roast, and it is a sign that the coffee was not dried or stored properly. If there is not enough moisture in the green beans, you could anticipate an unbalanced cup, lack of aroma and clarity, and dryness.
Next steps
After the analysis of the green bean sample is complete, the next and most fun part of the evaluation is to roast and cup! Recording the roast development and cupping notes is essential for understanding how your coffee is aging, developing, and is key to selling your coffee to potential customers.
Next article: Quality Control: How to evaluate the quality of your coffee, Part 2: Sample roasting and Cupping


