
How to change: PCB encoder
This is the guide on how to change the PCB encoder on your ROEST.

Where to buy PCB encoder?
If you are sure your encoder is broken (you have talked to our Support Team) visit our e-shop to purchase a new one!
Before you start
⚠️DISCLAIMER
Information in this document is believed to be accurate and reliable. However, the manufacturer does not give any representations or warranties, expressed or implied, as to the accuracy or completeness of such information and shall have no liability for the consequences of the use of such information. The manufacturer is not liable or responsible for any problems arising from the attempted repair. The manufacturer reserves the right to make changes to information published in this document, including without limitation specifications and product descriptions, at any time and without notice. The manufacturer's products are not designed, authorized, or warranted to be suitable for use in applications where failure or malfunction can reasonably be expected to result in personal injury, death, or severe property or environmental damage. The manufacturer accepts no liability for inclusion and/or use of its products in such equipment or applications and therefore such inclusion and/or use is for the customer’s own risk.
⚠️SAFETY INSTRUCTIONS
make sure the roaster is turned off
the power cord has to be unplugged
follow the steps as instructed below
Tools

2-millimeter hexagonal key

10-millimeter spanner/wrench/socket
Parts

Encoder PCB
Instructions
Step-by-step guide:
1. Remove the top plate and cable. You can read how to do it here.
2. Place the top plate on a protective surface and loosen the “grub screw” on the encoder knob. Use the 2-millimeter hexagonal key.
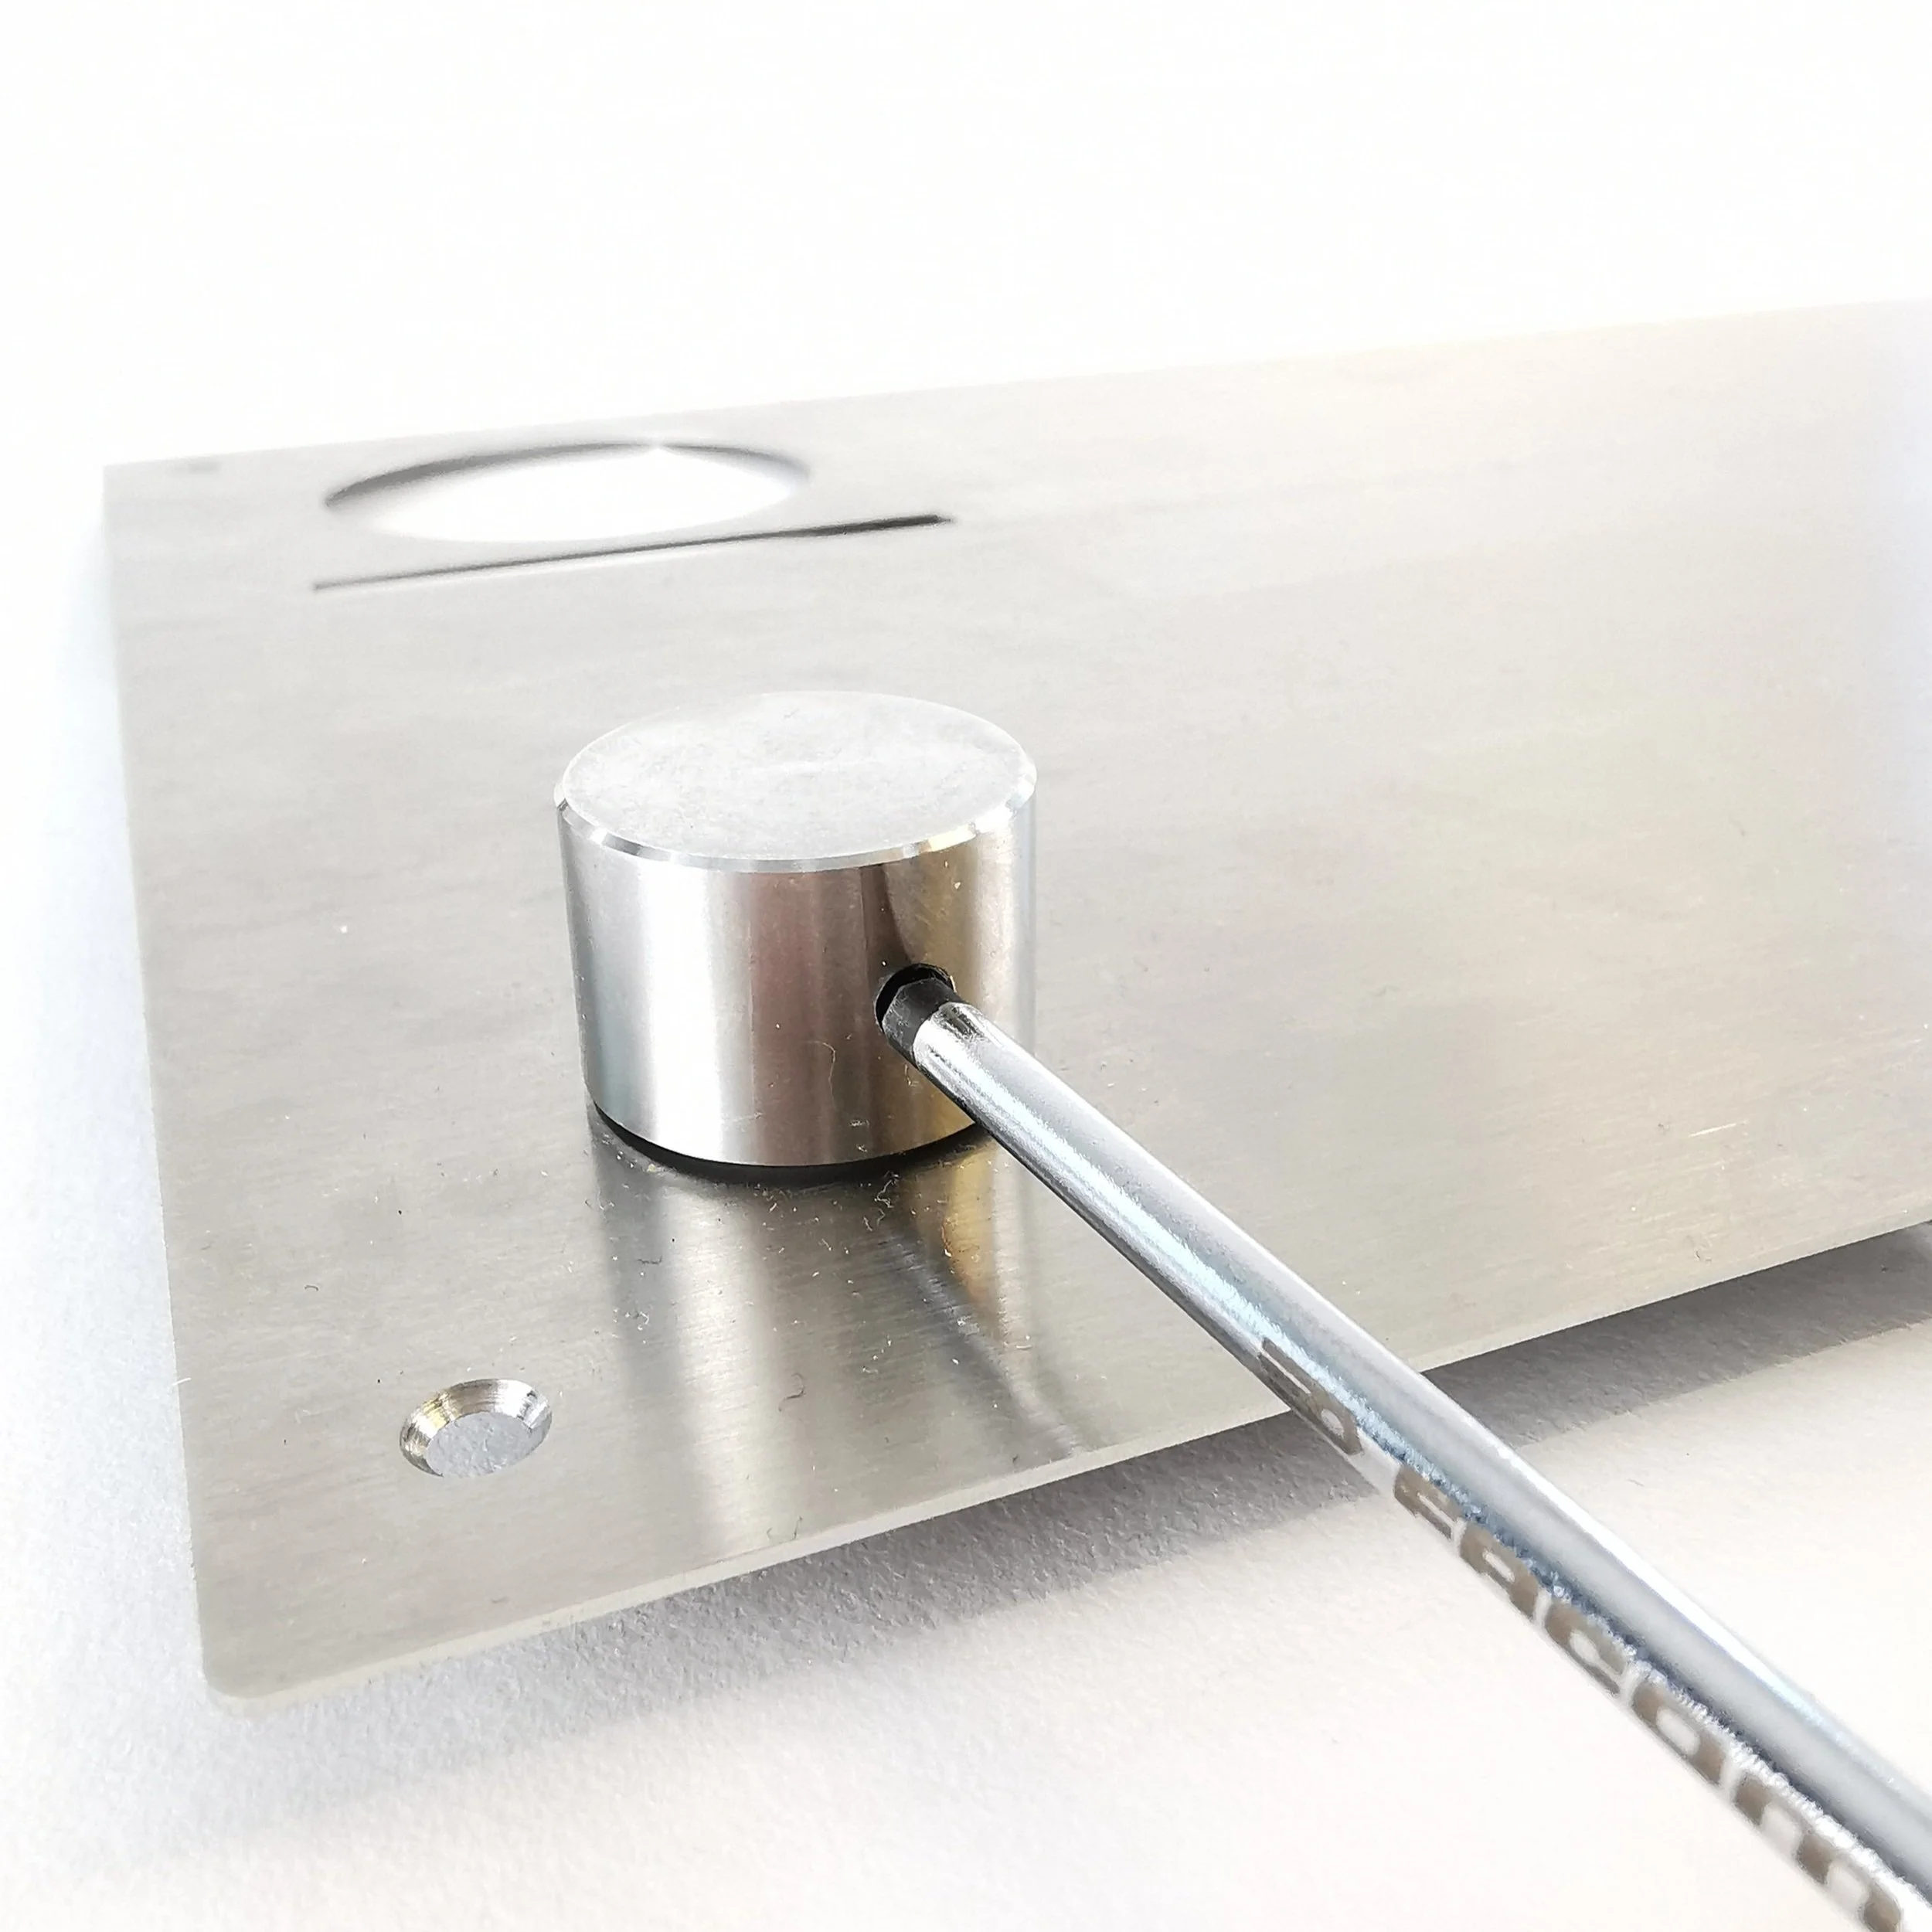
3. Remove the encoder knob and nylon washer.


4. Use the 10-millimeter spanner/wrench/socket to loosen the retaining nut and remove it. Take off the old encoder PCB and screw the nut back onto the threaded portion.
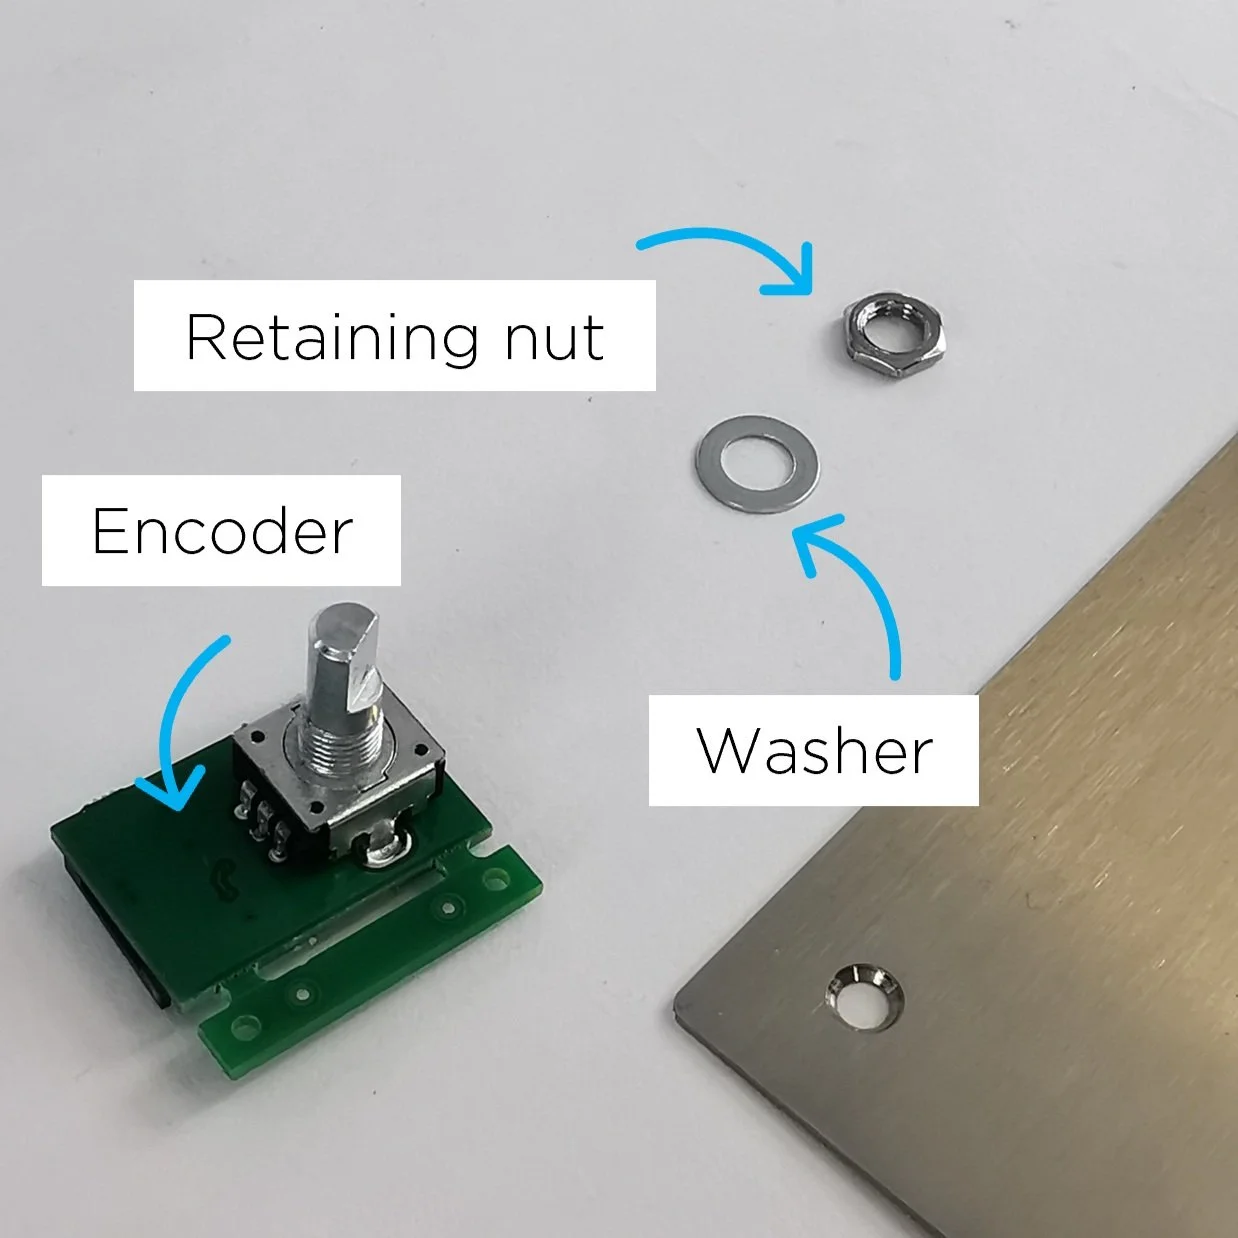
5. Take the new encoder PCB, and remove the retaining nut and the washer.
6. Locate the D-Shaped encoder PCB portion through the top plate hole.


7. Locate the washer and retaining nut on the threaded part (on the other side of the top plate).

First, fasten it by hand, and tighten it using the 10-millimeter wrench.

The orientation of the encoder must be as original. If not, the top plate will not fit. See D-shaped portion orientation.
8. Place the encoder knob (including the nylon washer) on top of the D-Shaped portion.

Align the grub screw hole with the flat portion of D Shape.

9. Tighten it by using the 2-millimeter hexagonal key.

10. Install the top plate and the encoder cable.
11. Plug the roaster in, turn it on and test the encoder. If it doesn’t work, contact the ROEST support team.